

My oldest son loves the King’s Hawaiian rolls that you can buy at the grocery store. Sometime last week he asked if I could try making those rolls. He has a lot of confidence in my ability!
I actually had a hard time finding a recipe that would work for me. I ended up using a recipe from Taste of Home. It makes a triple batch and uses potato flakes. I really wanted to use the potato flakes to help make them soft. I don’t have any pineapple juice on hand, but I did have mango nectar, so I used that instead. And I needed to make a large batch because I have a feeling that these will disappear quick. I am even hoping to give some of it away, but I am not sure if that will happen!
Here is the link to the recipe: Hawaiian Sweet Bread
This bake took me about 4 hours total to finish. I took a lot of pictures, so this post will have quite a few of those.


I was going to need all my counter space so I used one of my cabinets as a recipe holder.

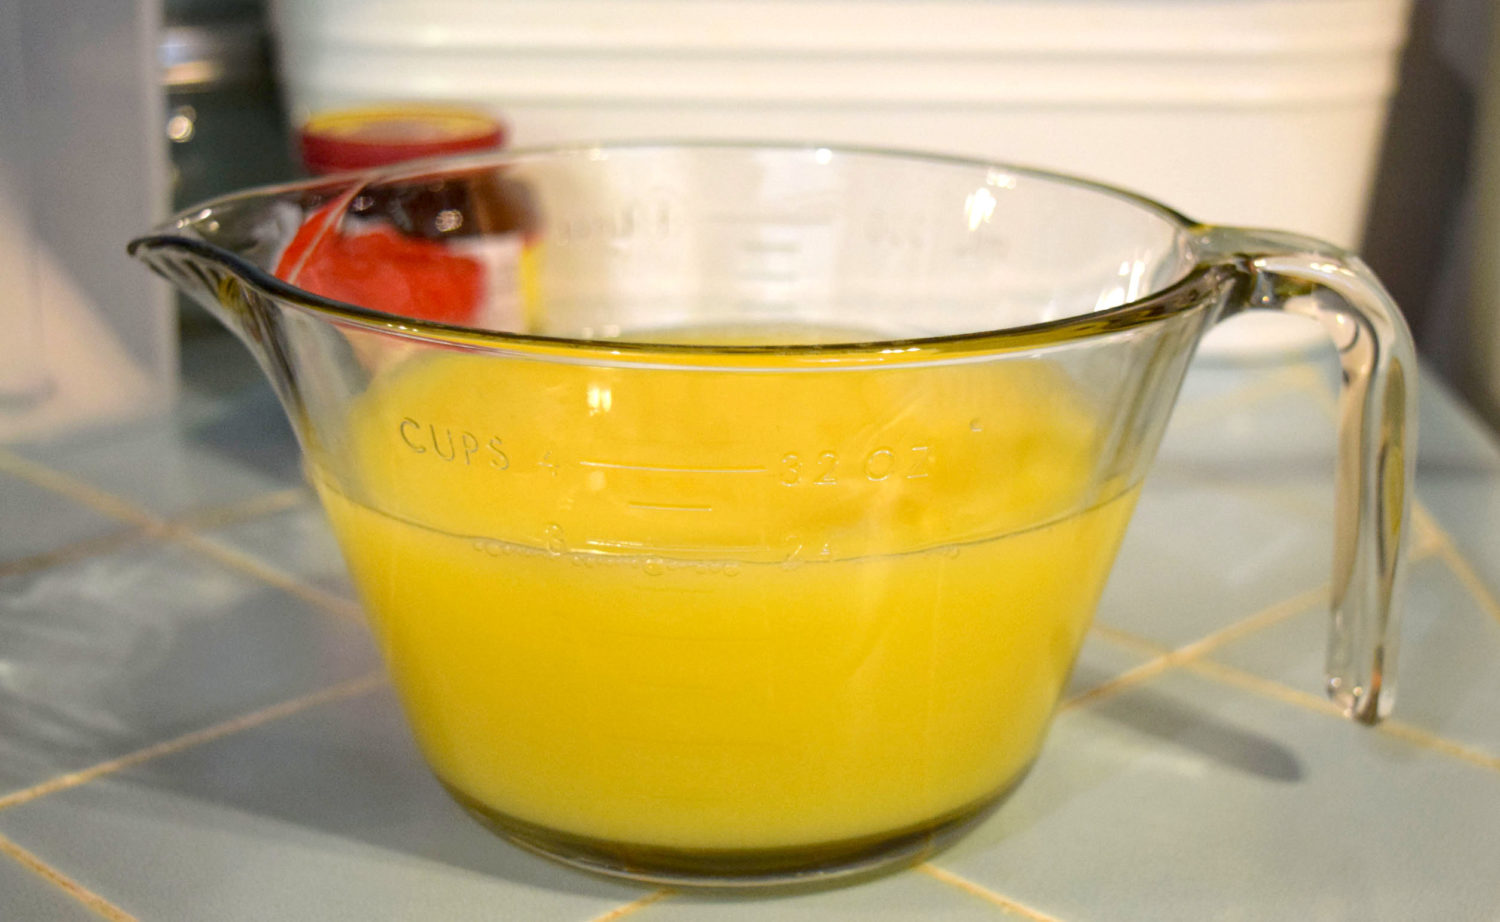
My mango nectar, whey, and water mixture. I still have whey from when I made ricotta last week, so I used whey instead of milk.


My candy thermometer once again came in handy for getting the mango juice and milk mixture up to 125 degrees F.

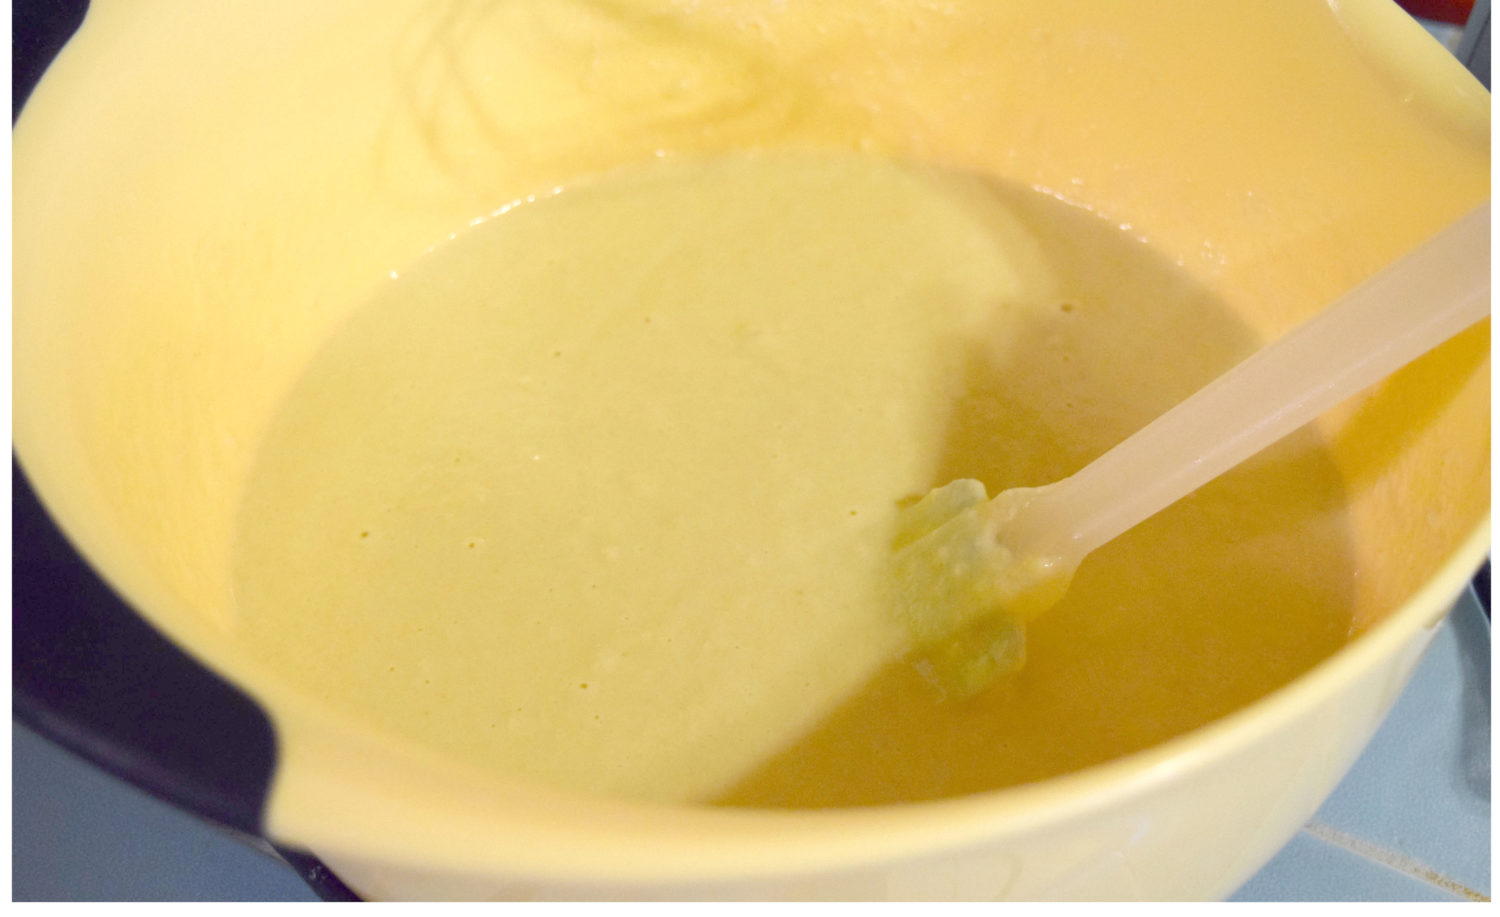
The mixture begins with only 3 cups of flour so after adding the mango juice and milk mixture, the batter was very runny. I am glad I didn’t try to use my handheld mixer for this! The batter would have ended up all over me! Mixing the batter by hand worked fine.

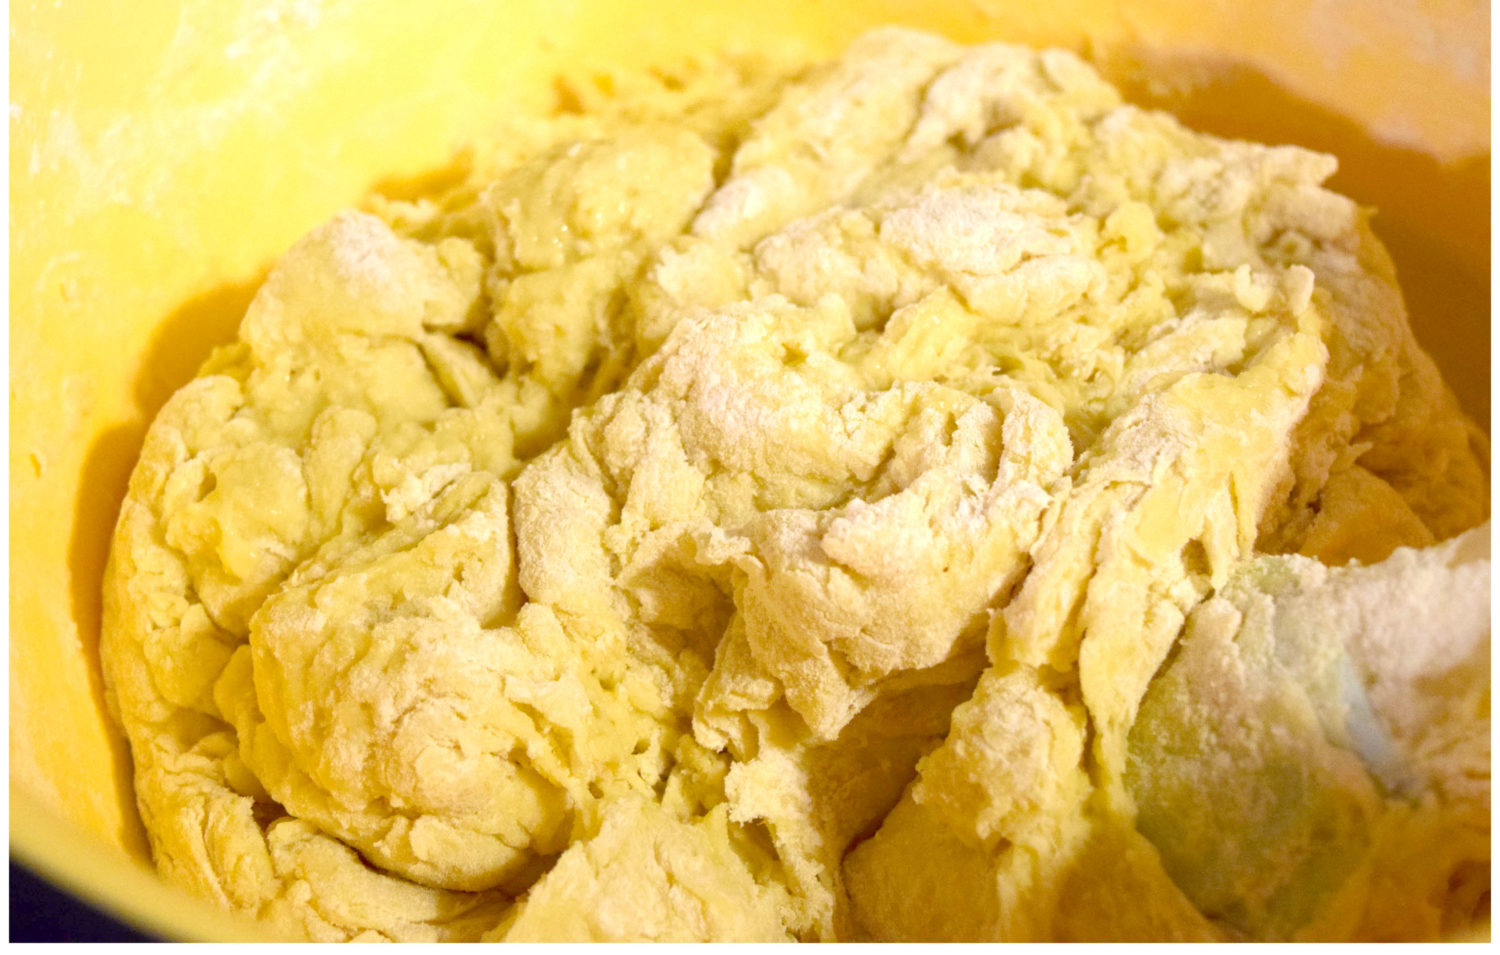
The dough after adding 4 cups of flour. It came together very quickly.

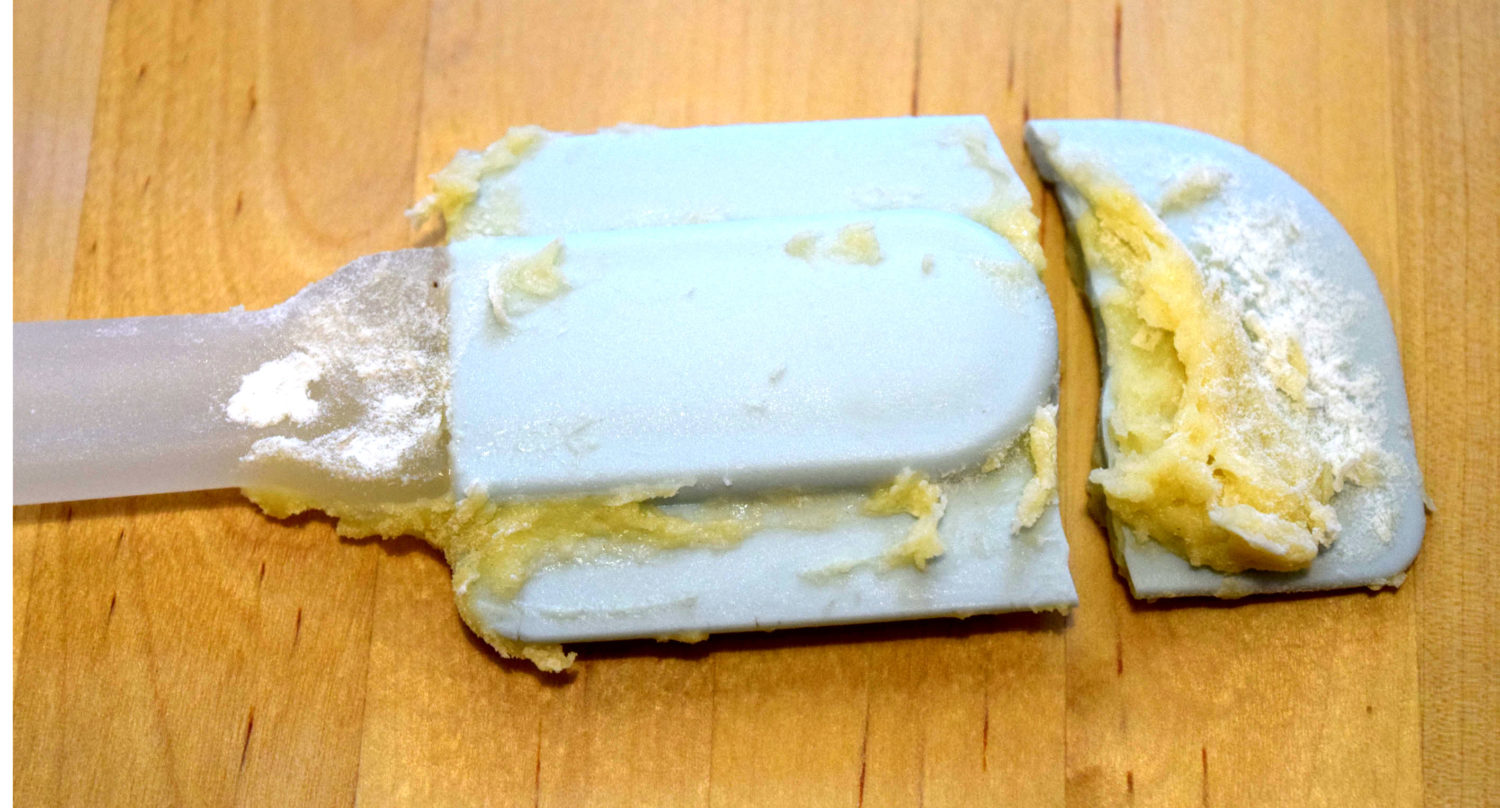
My spatula wasn’t up to the challenge of stirring the dough! It broke! Fortunately, it was a clean break and there weren’t any spatula pieces left in the dough. I guess I should have used a wooden spoon or a sturdier spatula.

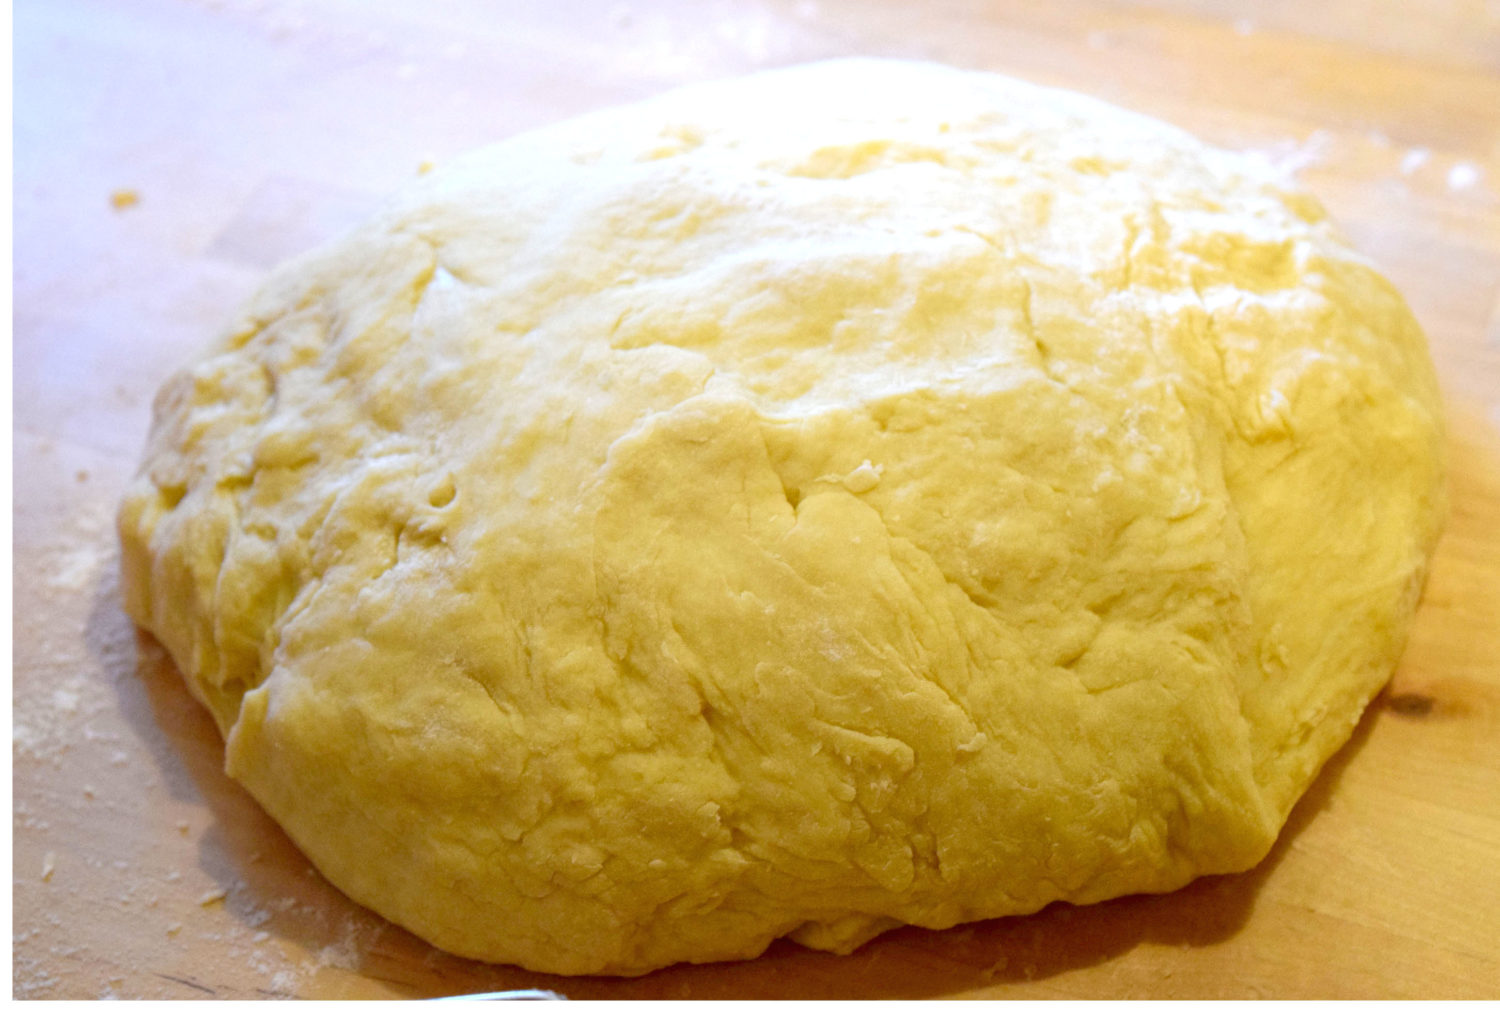
This dough got sticky pretty quickly once I started kneading it. I think I added maybe 1/4 up of flour more than in the recipe. This is after about 6 – 8 minutes of kneading.


Here are the pics of the rise progression of the dough. This dough was a monster! This is probably a good thing though since I needed the large amount of dough to make 3 batches of bread.

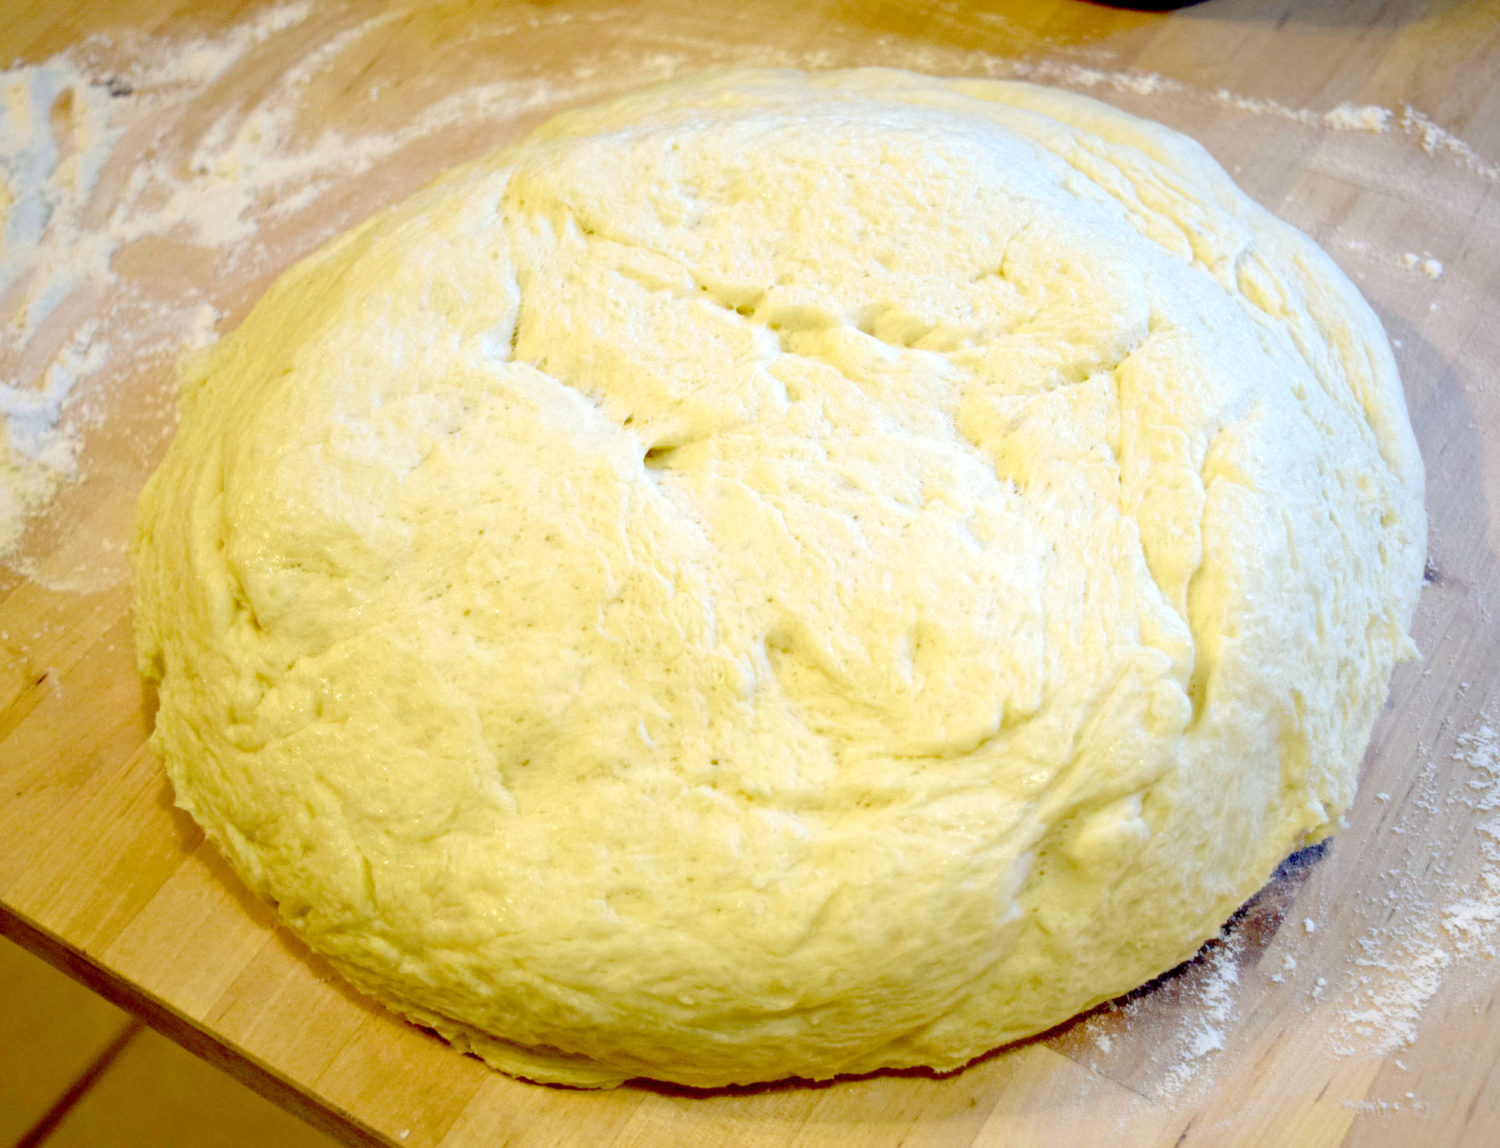
The dough is ready to be split into 3 parts. It was pretty easy to work with at this point. I think this is my favorite part so far of breadmaking: getting to shape the dough.


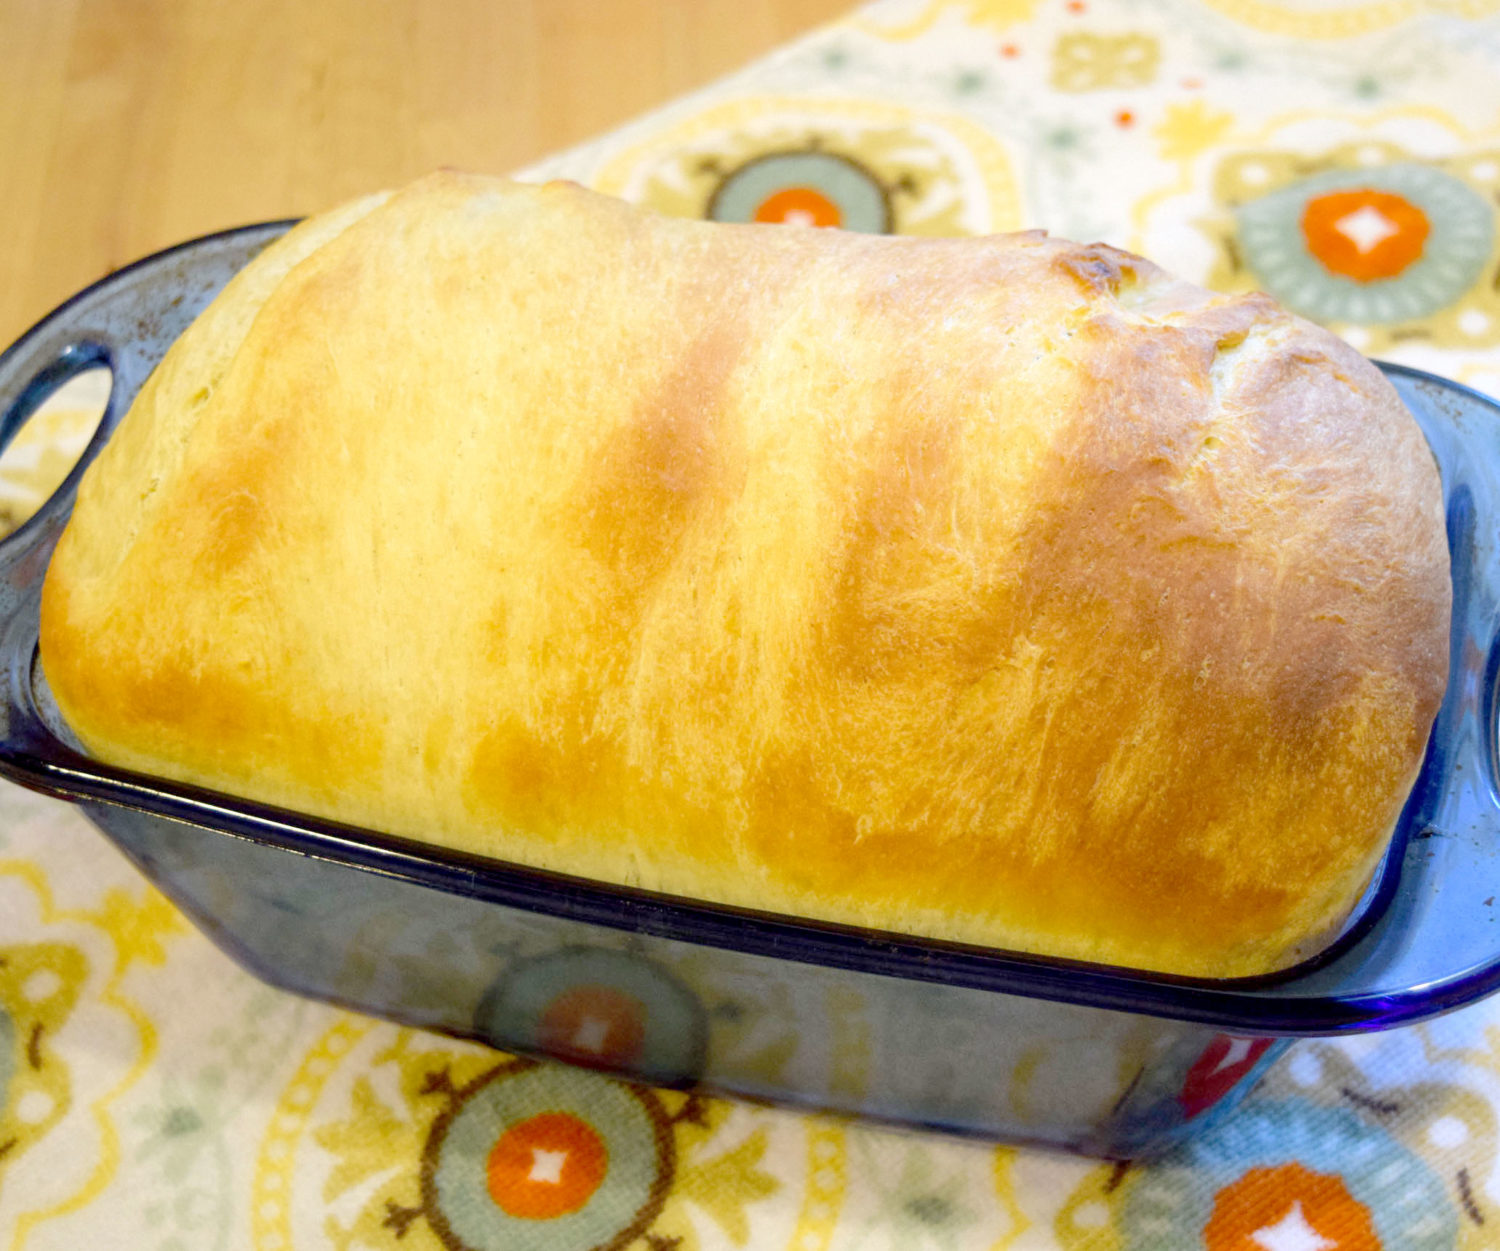
I made a 9 x 13 pan of larger Hawaiian rolls, which I am hoping to use for sliders for dinner tomorrow, a loaf pan for sandwich bread, and some mini Hawaiian rolls to taste after baking. I let them rise for another 45 minutes once they were shaped.


Two of the pans after the 45 minute rise. I had already put the mini-rolls in the oven to bake and I wasn’t able to get a picture of them.

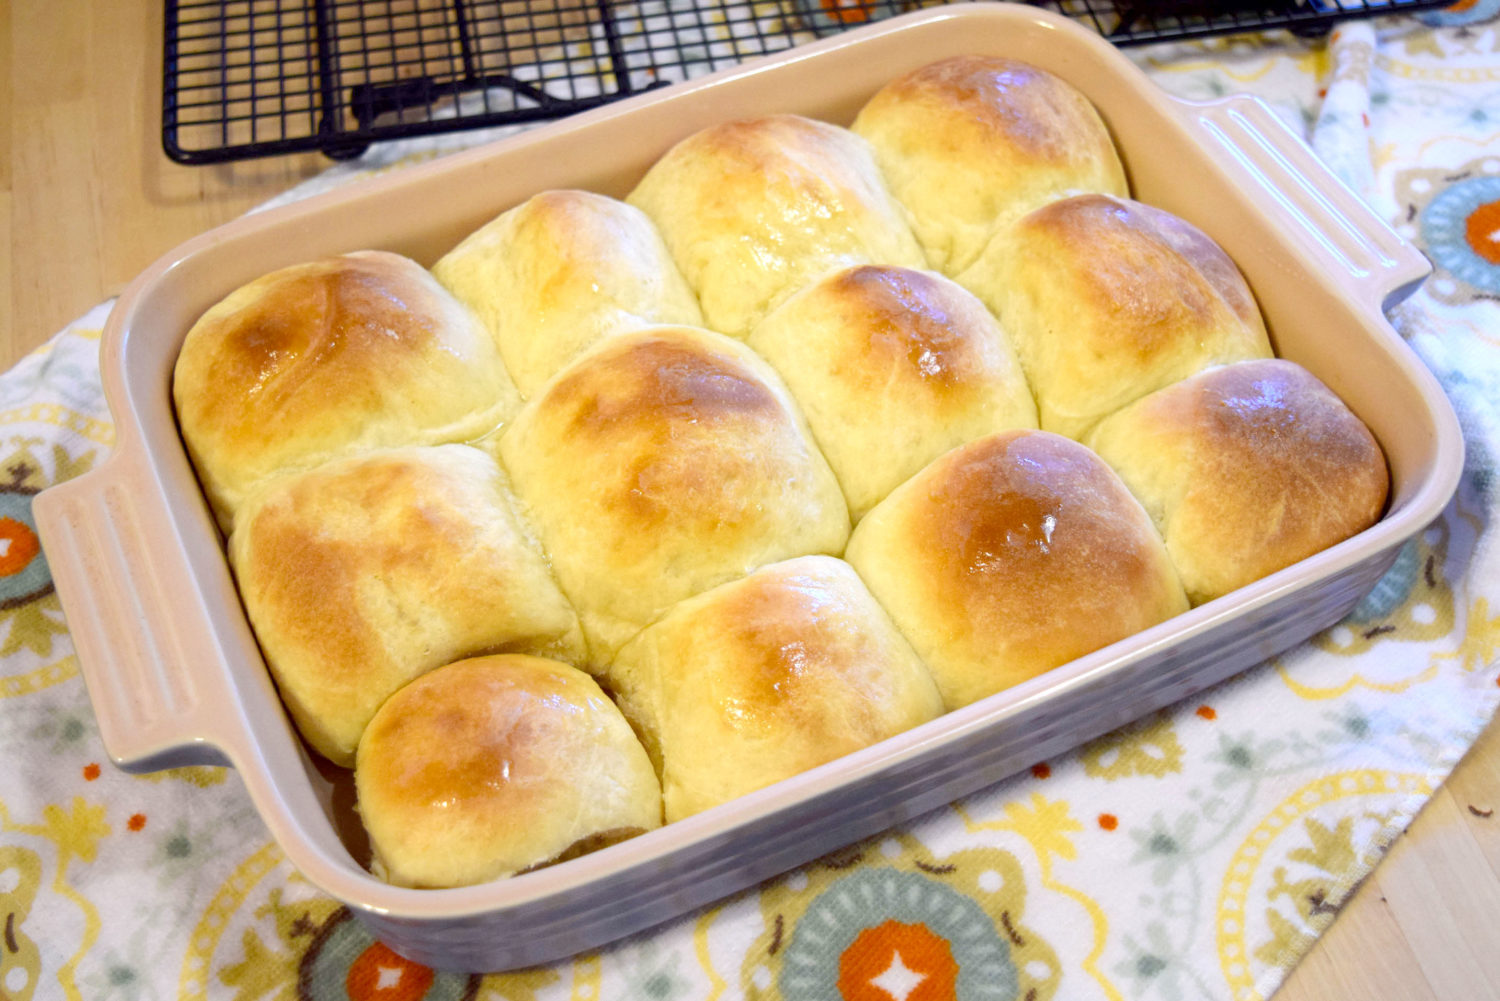


The pans ended up needing the same amount of baking time. 20 – 25 minutes. The mini-rolls needed to be moved to the top rack though for about 2 minutes. They were too pale after 20 minutes and needed browning.
In case anyone tries this recipe as a sandwich loaf, I just wanted to let you know that the loaf WILL need longer in the oven than the rolls! I would probably bake it for about 25-30 minutes instead of 20-25 minutes. My loaf had a collapsed and underdone middle.

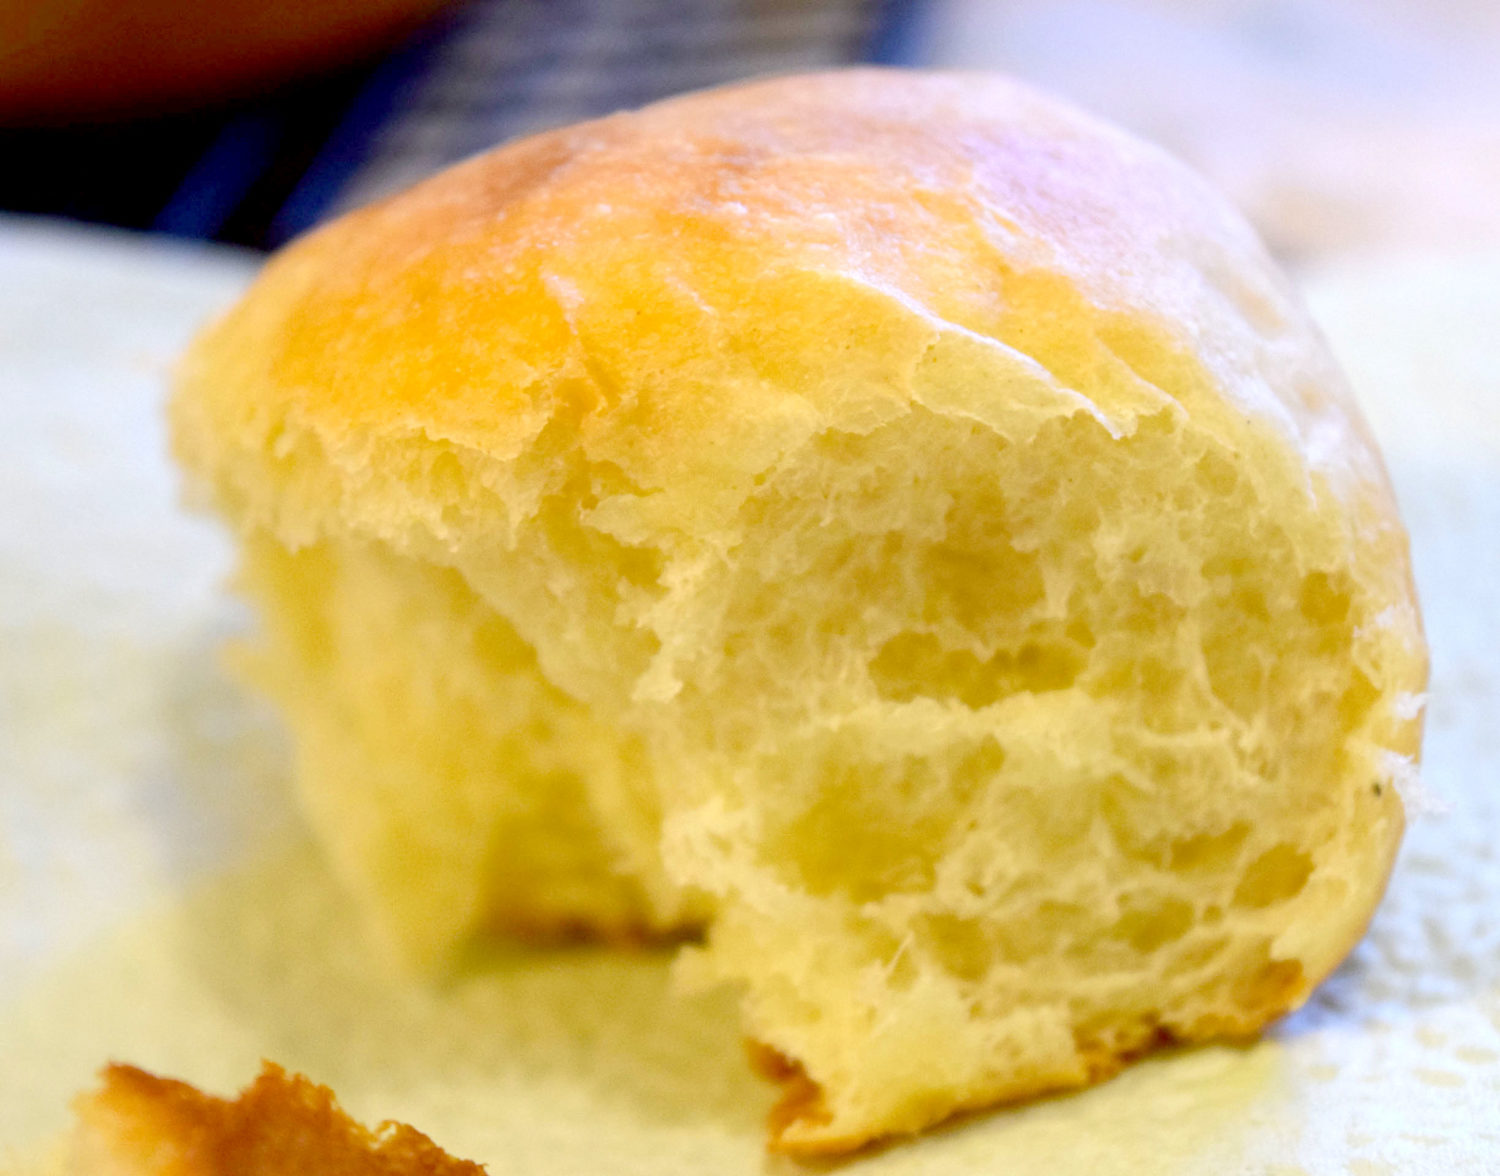
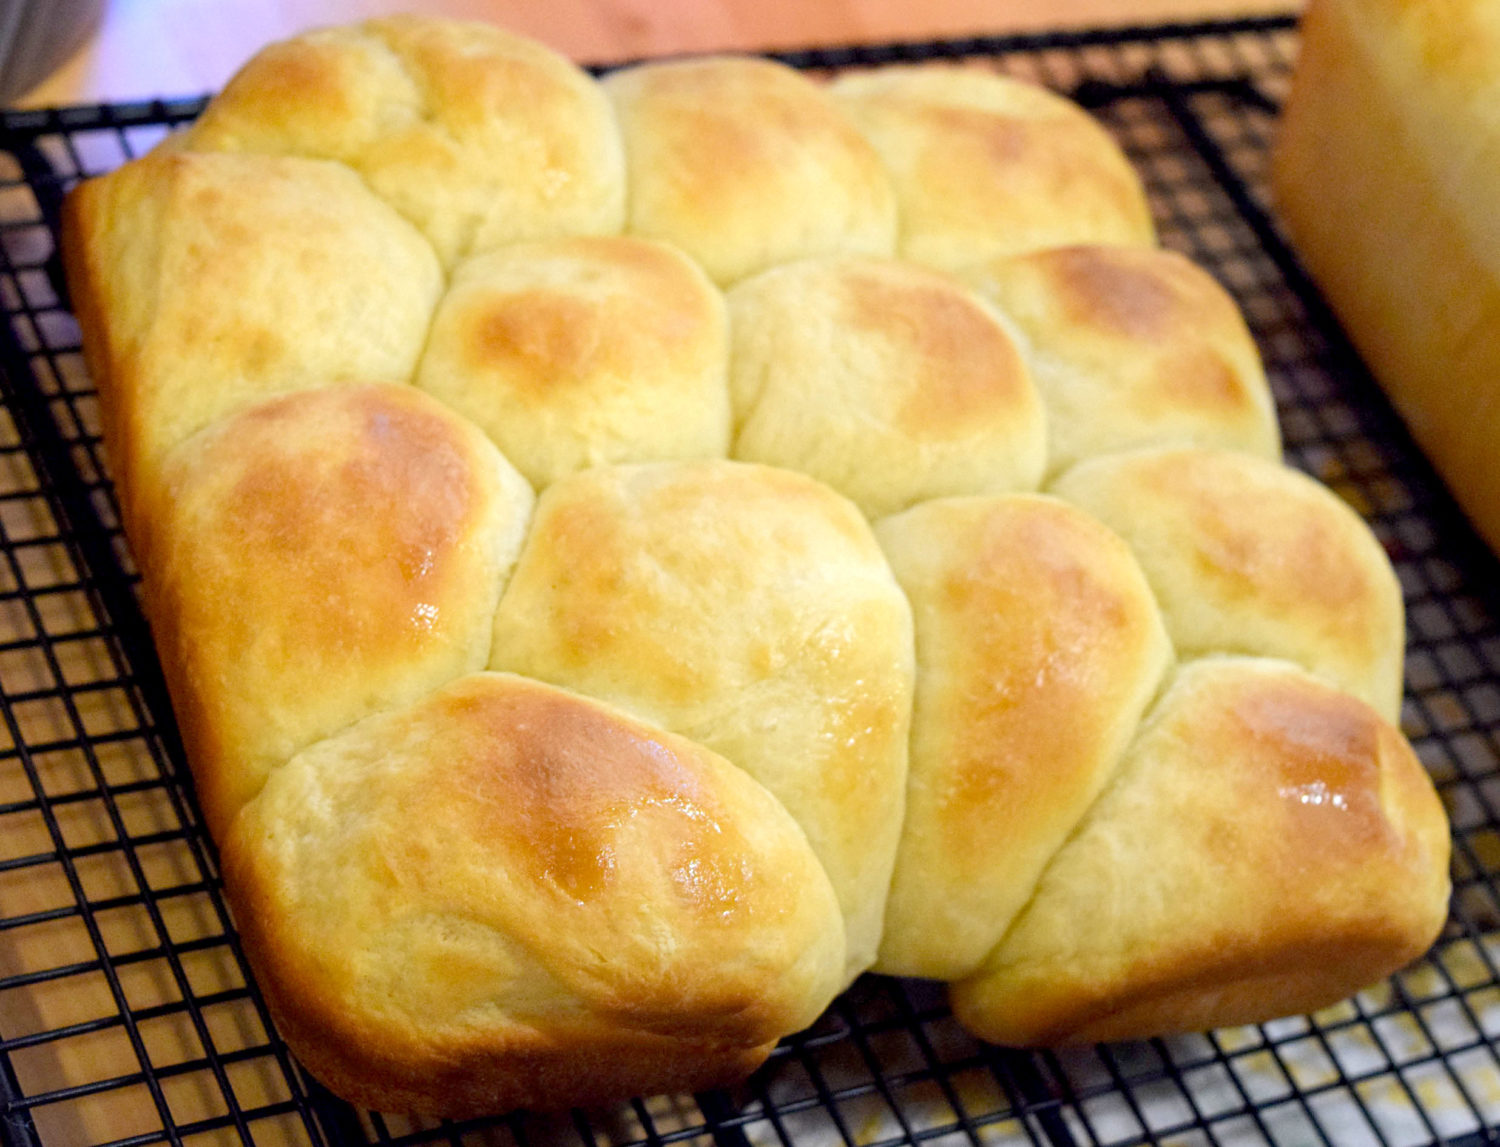
One of the mini-rolls. These were definitely soft and fluffy! I don’t think they are EXACTLY like the Hawaiian rolls from the store, but they still taste pretty good! I think they might need a little more salt, of all things. I think I will probably try pineapple juice next time and see if that makes them closer to what I am thinking.
My kids keep asking if they can have some of the Hawaiian rolls so I know that they approve! It’s nice to have such willing taste-testers even if I don’t think the recipe came out quite like I wanted!
-Lynn