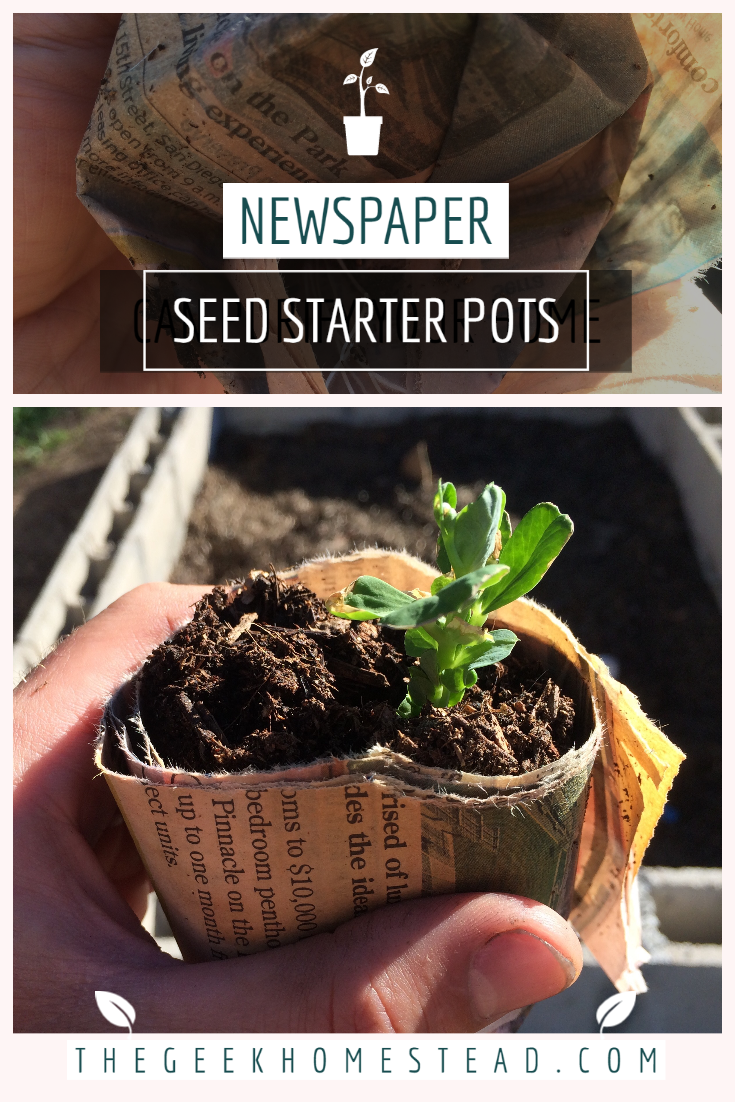
In years past when I wanted to start seeds, I would use the peat pots found at home improvement stores. Those pots have a couple of downsides. First, they cost money, and if I want to plant a lot of seeds then I will have to buy many pots. Second, they never seem to rot away like I want. I have found a number of plants that went root bound with the pot still around the roots.
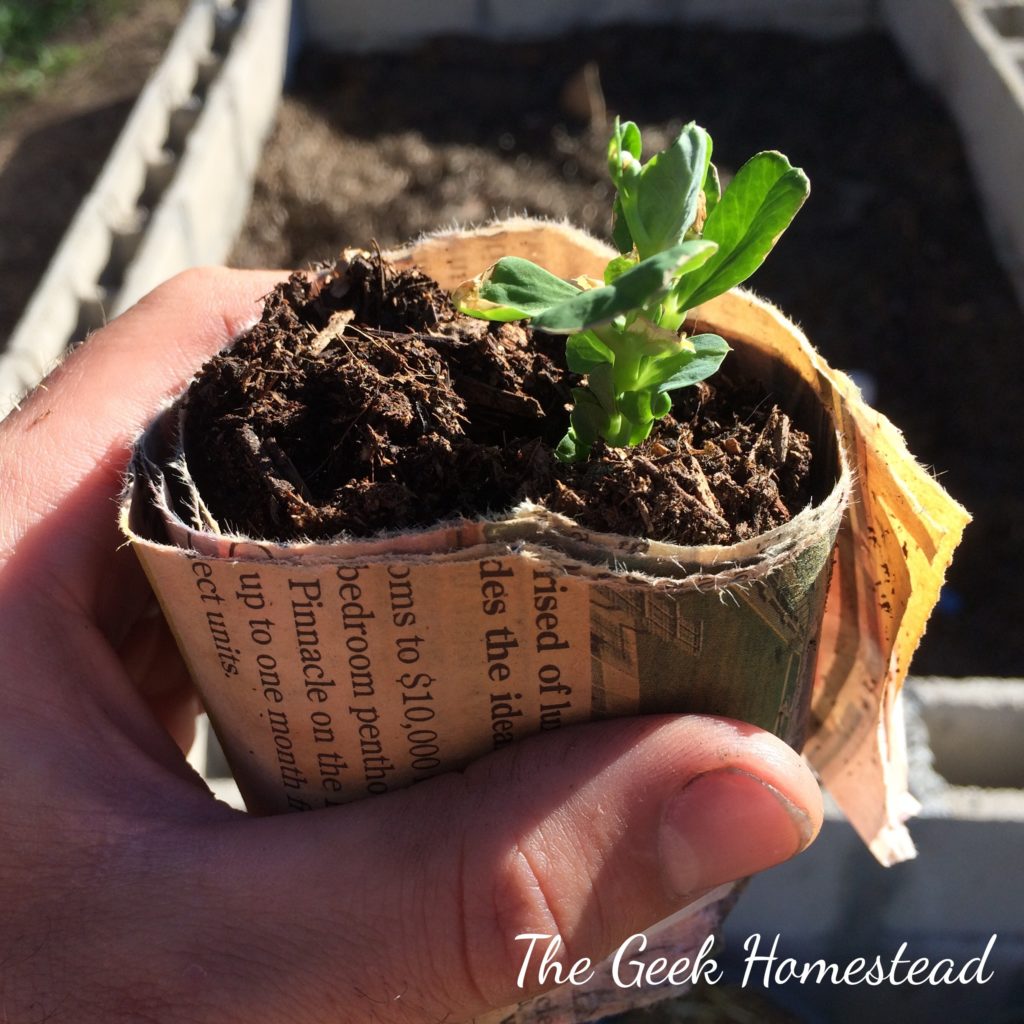
This year I want to try something else. I saw pots made out of newspaper on many blogs and other places. I wanted to try out the pots myself before I posted about them. So far the newspaper seed starter pots seem to be working well. I was afraid they would fall apart quickly once water was put on them. Instead the paper seems to hold up well for the time it takes a seed to begin to grow. I haven’t seen yet how they rot once in the ground, but they are soft and seem like they will rot nicely as the plant grows.
I saw different ways to make the newspaper seed starter pots, anywhere from fancy folding to just using tape. I decided to use tape myself because I want to make many pots quickly. It is easy enough to remove the tape before putting the pot in the ground.
I tried to use only the pages of the paper that had no colored ink. This was difficult since the San Diego Union-Tribune loves colored ads. Some days I could only find a few pages to use.
I ripped the double sided pages in half down the seam.
For the first pot I made I just folded the half sheet in half. It made a pot that was to tall for the basting pans I am using as mini greenhouses. To make the pots shorter, I folded the page in half then folded the bottom of the page halfway to the fold mark. Eventually, I got to the point where I could tell where I needed to fold without folding the sheet in half first.
After that quarter fold, I folded the bottom to the top of the page.
I used a water bottle to roll the page. It seemed like the perfect size for what I was doing. A can from canned food might be a good size too.
Once I got the page rolled all the way up I used a piece of masking tape to hold the end. Masking tape isn’t very sticky so it is easy to remove.
Next, I stood the bottle on its cap to fold the bottom of the pot. I used another piece of tape on the bottom of the pot to hold it together.
The finished pot is about half the size of a water bottle, and it is easy to make many of them quickly.
I used the newspaper seed starter pots to start some of my Tom Thumb Peas. All 11 of the seeds I planted have sprouted and seem to be doing well. They have gotten big enough that I feel comfortable moving them into their larger pots. Before I did that, I tore the top rim off of the paper pots at the level of the dirt and removed the tape. Roots were already starting to go through the bottom of the paper pot so I carefully opened the bottom to allow the roots access to the dirt.
As I said before, the newspaper seed starter pots are very easy to make. I told my two oldest children that I would give them 25 cents for each two pots they make. My oldest is the only one that has made pots so far. I think he has made about 30 after he finished school for the day. They are a bit uneven and sort of random in size, but they are pretty close to what I showed him how to make. I think this is a good project for kids because it is easy, and it helps them to be involved in the gardening and growing process.
-Joshua

