


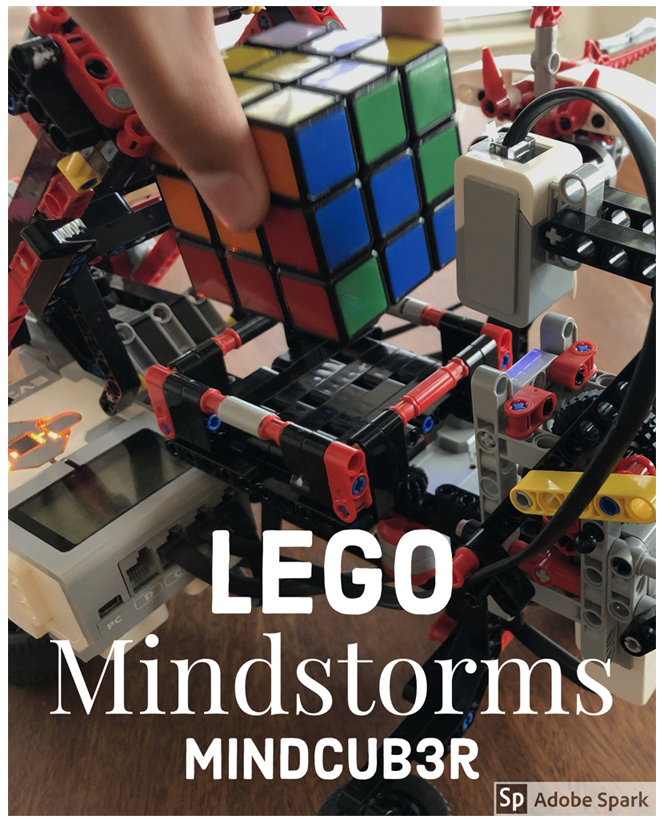
Even though we are done with school for the year, I am trying to make sure that we are still learning over the summer. For the past three days we have been working on the LEGO Mindstorms: MindCub3r robot. We have an EV3 Lego Mindstorms kit, so we used the build instructions located at the MindCub3r website by David Gilday. All the programming for the robot is also located at the same website.
Corran and Matthias started the build Monday night. Lego Mindstorms robots typically take Matthias (our master robot builder 🙂 about 3 to 4 hours build. He builds the robot and then Corran will program it. It was later in the evening when they started the build, so they had to finish the build Tuesday morning. I ended up having to help at the end with the build, because the two LEGO Mindstorms: MindCub3r robot arms weren’t working properly. We finished our build around 11 AM on Tuesday. I was supposed to make scones yesterday that I was going to post about on the blog here, but since I was helping with the robot instead, well, the scones didn’t get made until today.


I was wondering why Thias was bent down messing with the LEGO Mindstorms: MindCub3r robot like this until I had to help with fixing it! It’s the only way to actually see what you’re doing sometimes!
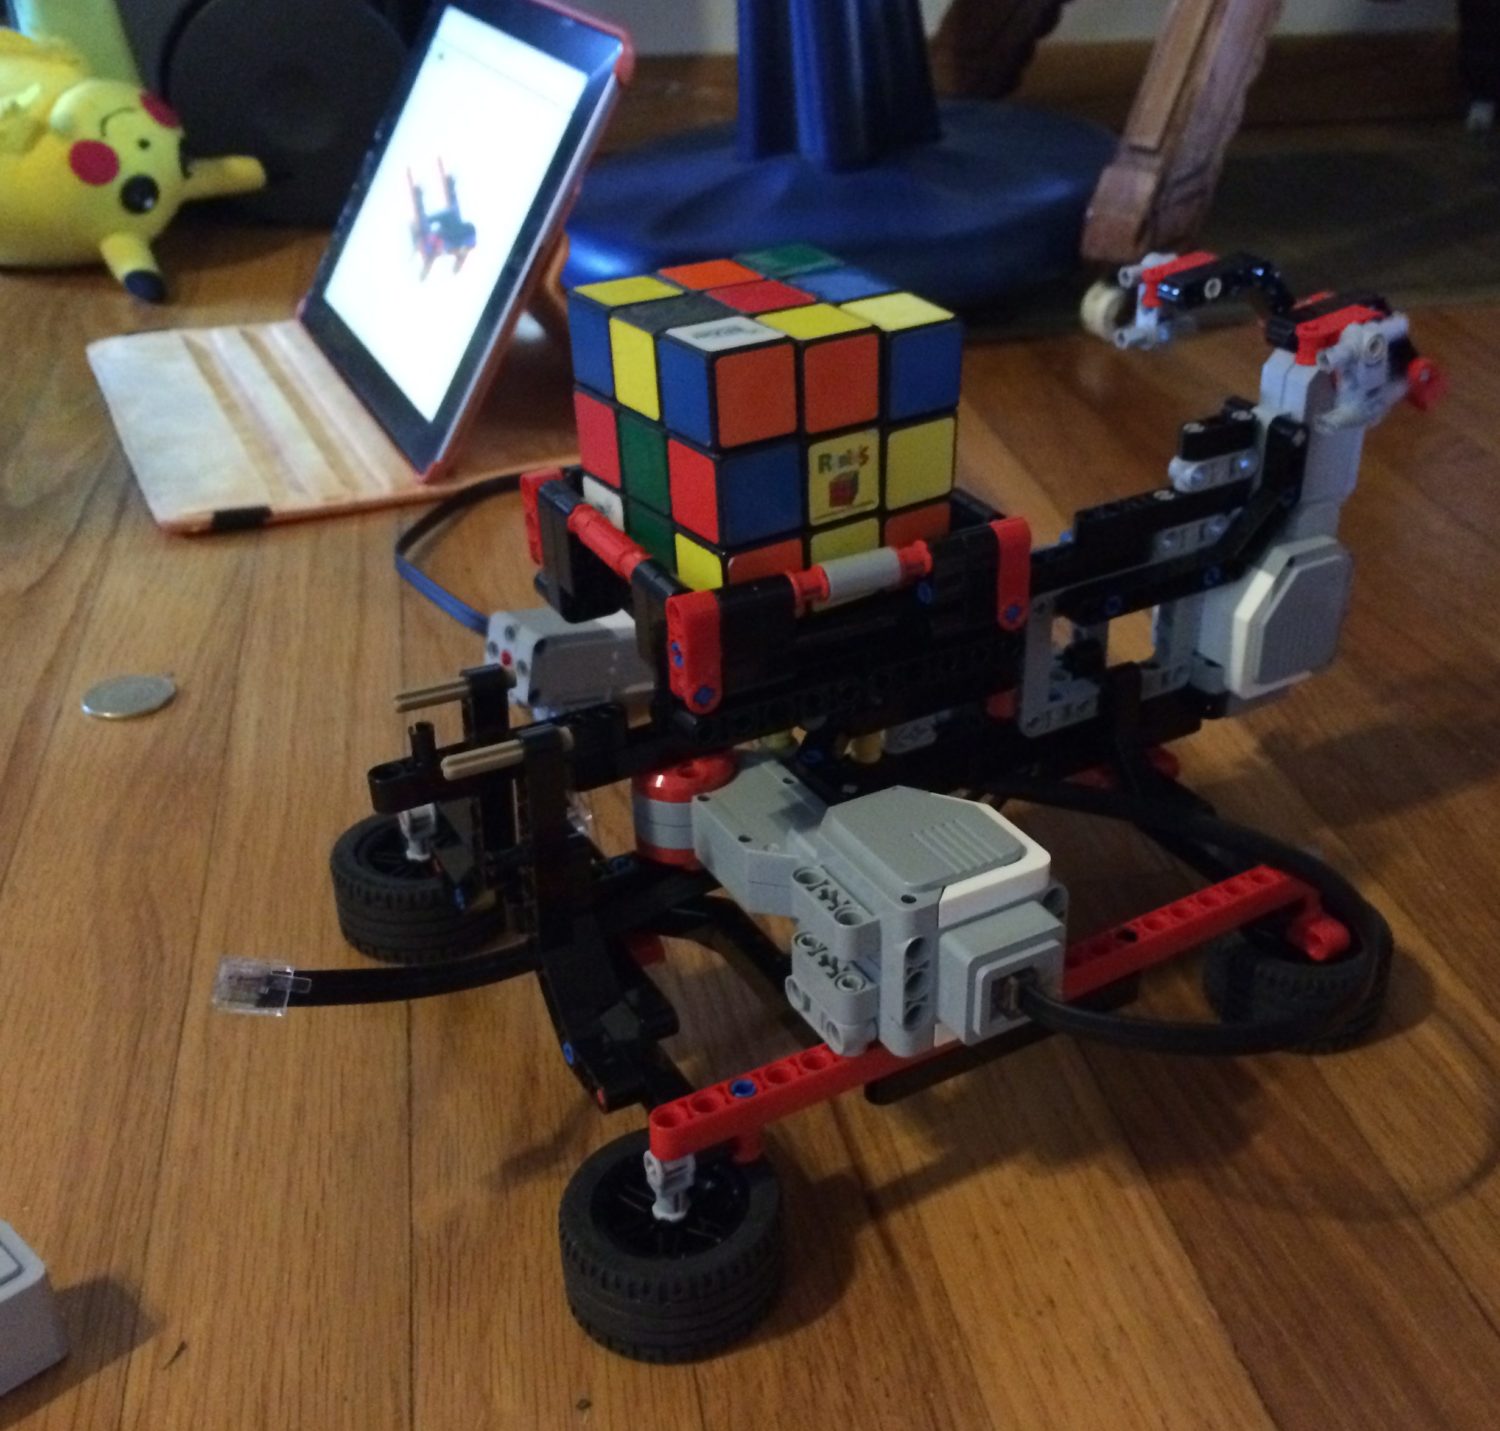
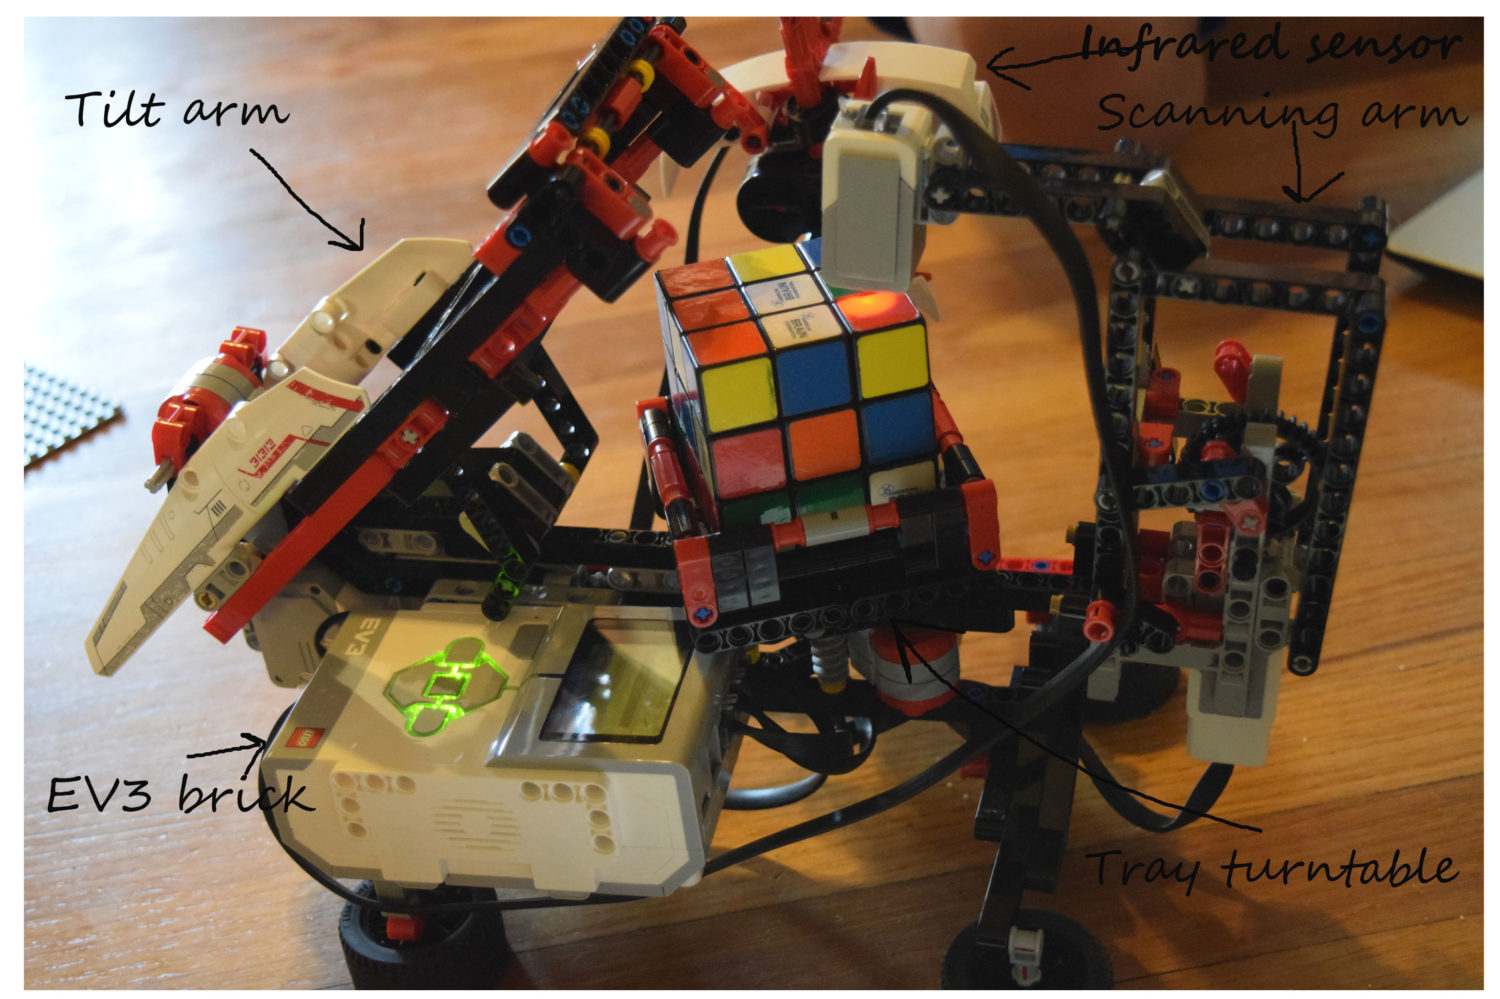
We had trouble with the scanning arm not being able to reach all the way to the Rubik’s cube. I checked the arm against the instructions and moved pieces that were in the wrong place. It was often things like a peg being in the wrong hole. Corran ended up getting the scanning arm to work like it was supposed to, by moving two sides of the arm one peg over.


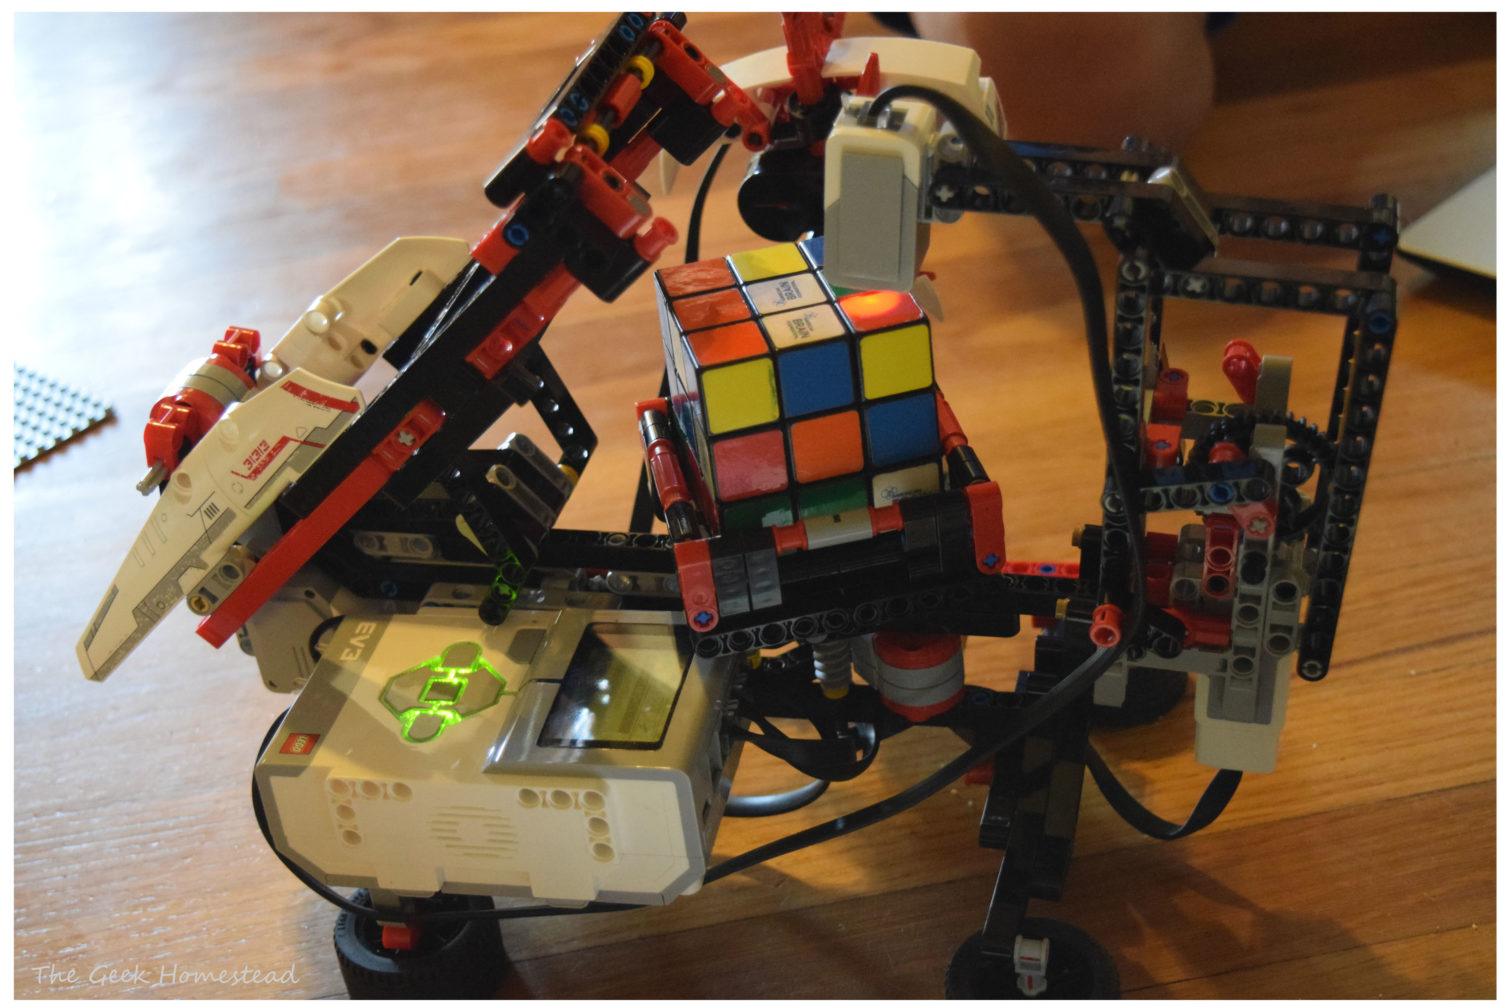

Corran took care of downloading the programming for the LEGO Mindstorms: MindCub3r robot. He ended up having to update the software and the firmware on the EV3 brick. Troubleshooting the programming took us about an hour or two. Then, when we got the programming working, the robot wouldn’t go past the scanning portion of the program.

[youtube https://youtu.be/SbFHSBMtP30]
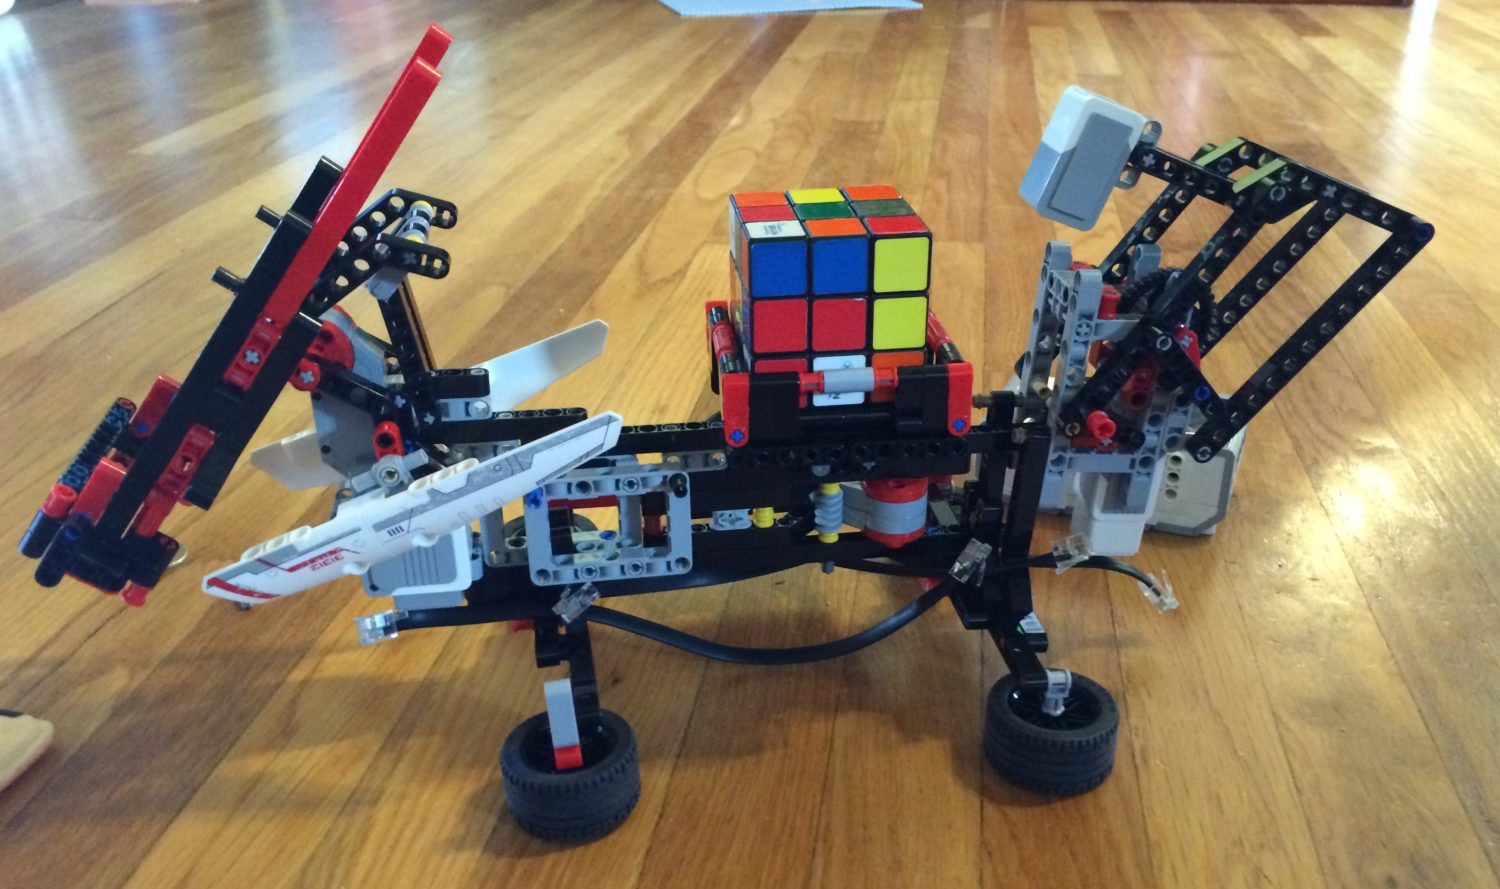
We spent probably another 2 hours trying to figure out why we were getting a scan error. Finally, after it successfully moved past the scanning portion once, we called it quits for the day and decided to try again later.
This morning, I decided to look up reasons why we were getting the scan error and how to fix it. On a YouTube channel in the comments, I read that someone had fixed their error by placing pieces of cardboard in the tray to keep the cube from moving around too much during scanning. The cube has to be aligned underneath the sensor a certain way and since ours was bouncing around a lot in the tray, the sensor couldn’t read the colors properly.
After some jury-rigging of the tray with slim pieces of cardboard and some mishaps with scotch tape, we got the robot working!

[youtube https://youtu.be/GU03CZqdGII]
This is one of the best videos I could get of the robot solving the Rubik’s cube. It was a hard 3 days’ work to get it to this point! My two oldest boys kept wanting to quit working on it, but I wouldn’t let them. I told them that this is how real life is. Most of the time, a project you are working on won’t always work or go the way you want to the first time. You work on it one piece at a time until the project is finished.
As a bonus, Matthias and I learned how to solve a Rubik’s cube ourselves! We had to go to a website to figure out how, but at least, now we can do it!
I found this website very helpful in the way the steps were presented – Rubik’s Cube solution.
This was our first real project with the LEGO Mindstorms EV3. We are hoping to work on more over the summer!
-Lynn
[adinserter name=”Block 12″][/adinserter]