Who builds their own dining table? Only a crazy person! Even worse is somebody that builds a table that weighs at least 400 pounds.
About two years ago our dining table started to look really worn out. The table top had a thin veneer that was starting to disappear in patches. The seats were made of PVC faux leather, and large pieces of the material were breaking off leaving only the thin cloth backing left.
We started to look for a new dining table, but were not happy with the choices available. Either we would have to buy something that would fall apart just like our old table, or we spend at least $3000 on something made out of solid materials. So, I of course got the crazy idea to build my own table.
I started searching the internet for table ideas. Somehow, I got the really crazy idea to use i-beams as the base for the table and bench I wanted to build. Lynn isn’t able to visualize things in her head so I attempted to design the table using Sketchup.
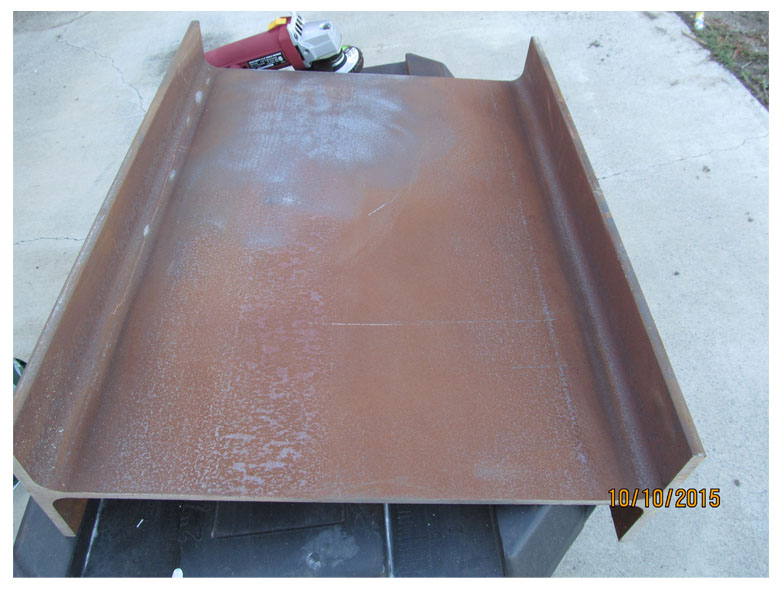
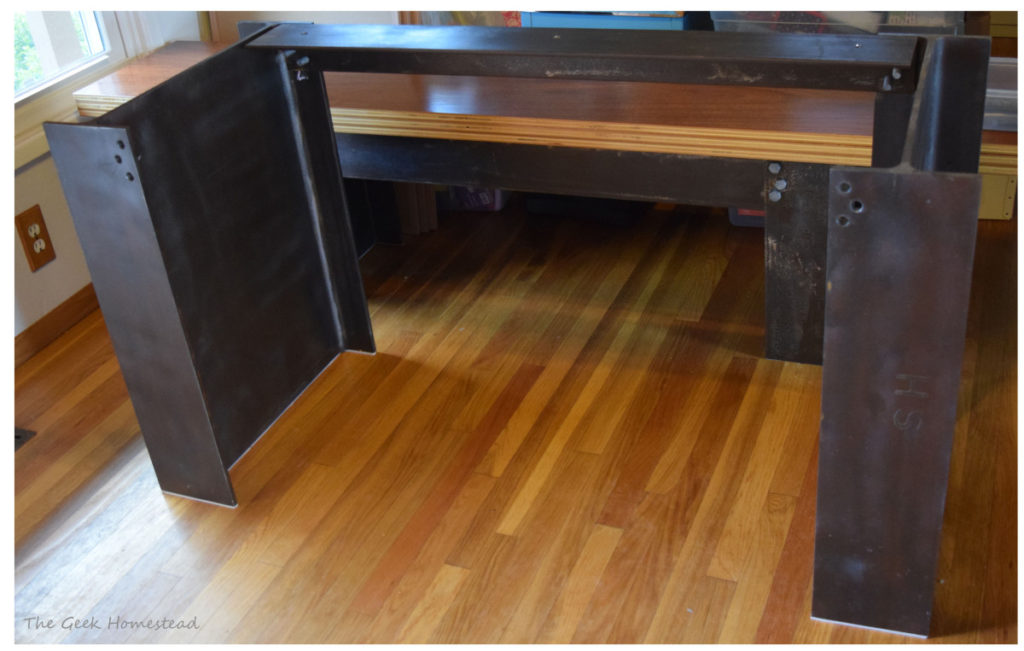
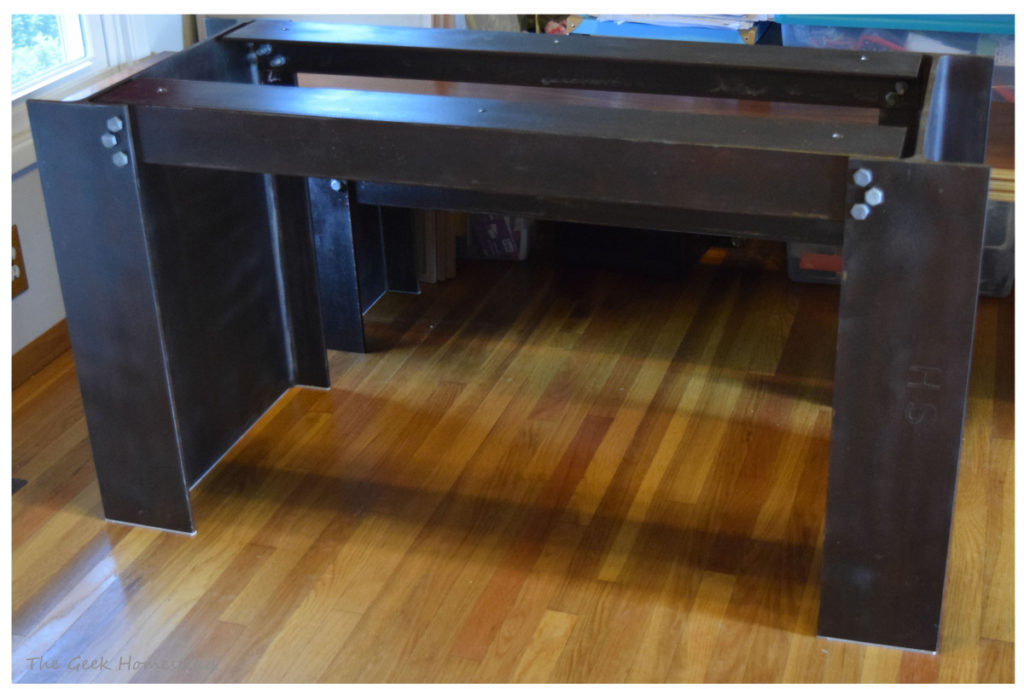
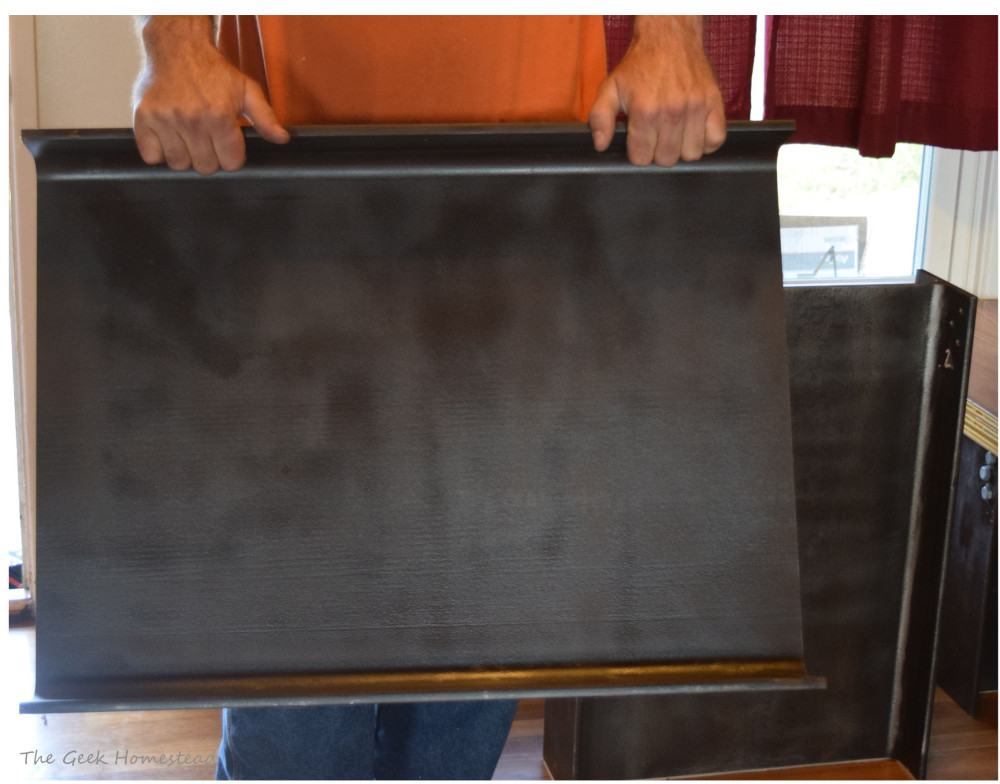
I was able to buy the i-beams that I wanted at a local metal shop. They cut the beams down to size for me, which is good because there is no way I could have done that myself. The beams I bought had been sitting outside so they were covered in surface rust.
Using my grinder, I removed most of that rust. The metal underneath didn’t look new, but had a sort of aged patina look which is what I wanted. To darken up the metal I cleaned it all with mineral spirits. Then I sprayed with with a clear semi gloss enamel for protection.\
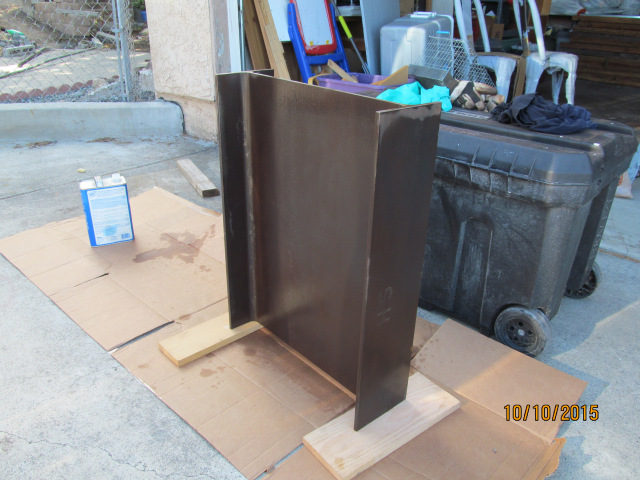
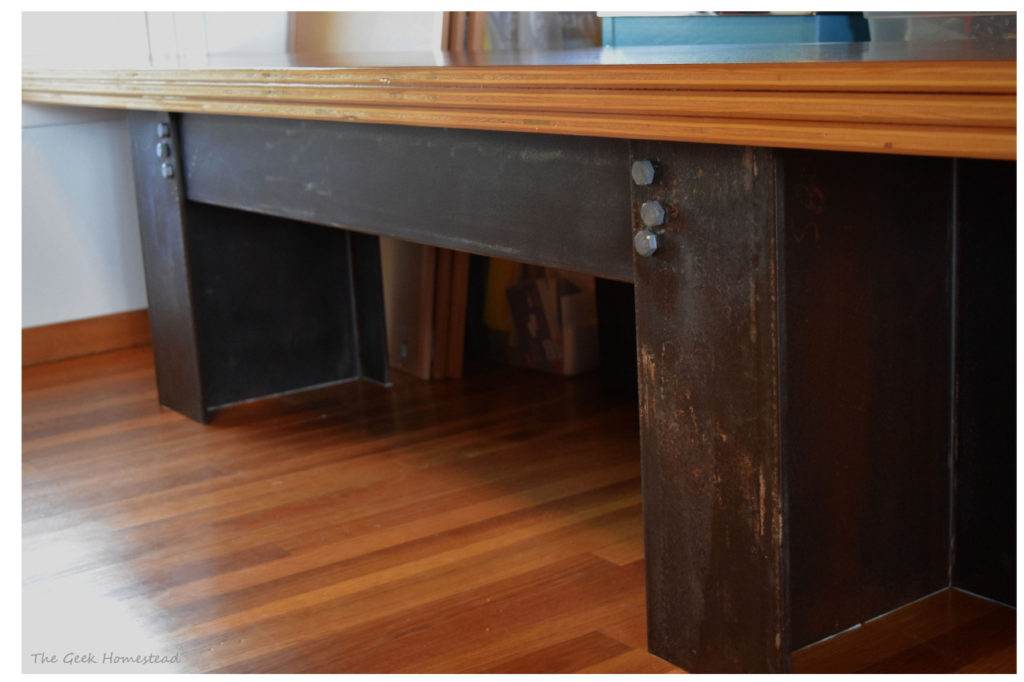
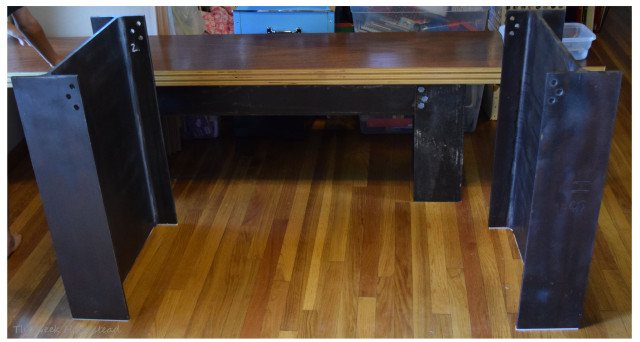
Knowing that this would end up being a very heavy table I had to come up with a way to attach the parts. I decided to drill holes in the i-beams and the angle iron that the table top would rest on. The i-beams and angle iron are then bolted together. I used large bolts so the table and bench are strong enough to hold a lot of weight.

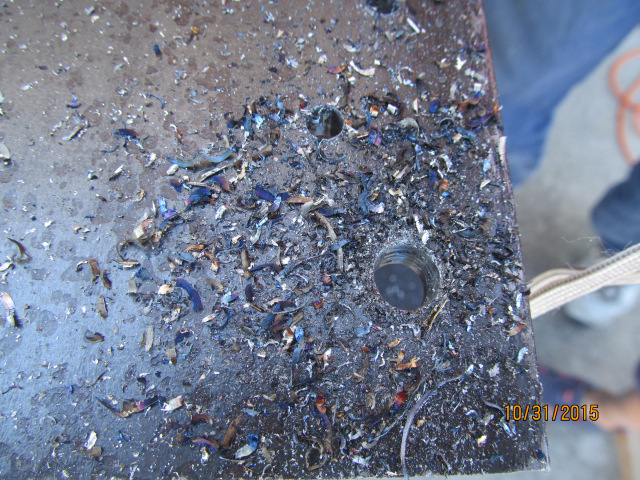
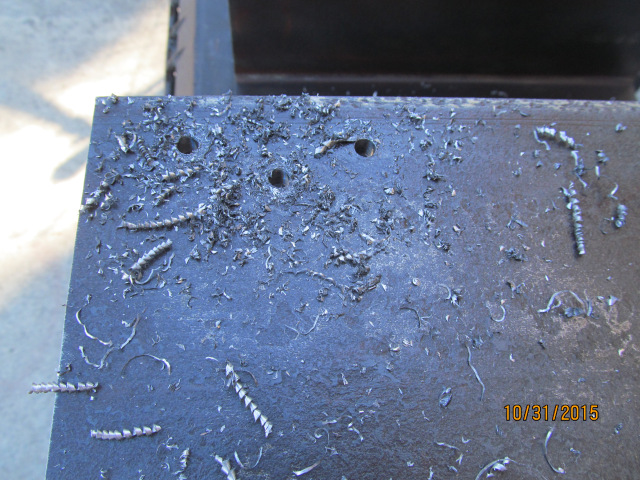
As you can see from the dates in the pictures, I was able to get the legs completed over a year ago. That is the point I ran into some difficulties. I bought reclaimed wood to build the table top, but the wood wasn’t level and was more difficult to work with then I had thought it would be. I was able to get the bench top put together, but was never able to make the tabletop work. Periodically, I would try different ideas, but none of them worked out.
Eventually, I ran out of ideas for making the reclaimed wood work. I was about ready to give up on making my own table, and Lynn was starting to talk about buying a new table. Then inspiration struck me. Why not use plywood to make the table and bench top? I did a google search to see if someone else had done something like that before, and I found something I liked at a blog called Vintage Revivals. They had created tabletops for a restaurant by stacking plywood. They used 2 pieces of plywood and a strip of wood on the bottom edges to give the appearance of 3 pieces. Ultimately, I decided on 3 pieces of plywood to make the tabletop higher and thicker since it matched the height of the reclaimed wood I originally planned to use.
Taking Vintage Revivals idea, I started looking into plywood. Lynn and I finally decided on using African Mahogany plywood for the top and bottom piece with maple for the middle. The total price for the wood and the urethane I used was about $450. The store I bought the wood at cut it to size for me. Each sheet of plywood was 4ft by 8ft. My tabletop is 3ft by 7ft, and the bench is 15in by 7ft. The bench needed one sheet of plywood and left just a small piece of scrap leftover. From the table I have some scrap pieces that are 1ft by 8ft and some smaller pieces. I will be able to use those to make a small shelf in our kitchen, and possibly a mantle for our fireplace.
I attached the pieces of plywood together with some heavy duty glue and finishing nails. Once the plywood was attached together I used a sander to make sure all the edges lined up and were smooth.
Finally, I finished the table with polyurethane. When I bought the wood I asked for suggestions on products for finishing the table. One of the suggestions was a product from General Finishes called Enduro-var. I was told it would amber the wood giving it a bit of an aged appearance. There were other products suggested too, but I liked the idea of giving the wood the aged appearance. I thought that would go well with the somewhat rusty looking i-beams.
Bringing the table into the house to assemble it was easier then expected. The tabletop was the hardest part because Lynn and our oldest son had to work together to carry one of the sides.
There are a few minor things I wish looked better on the table. For instance, I was trying to move the unfinished tabletop by myself and put a small gouge on the top of the table. The polyurethane did a good job of blending the gouge in so that it isn’t a major eyesore, mostly it just bugs me because I know it is there.
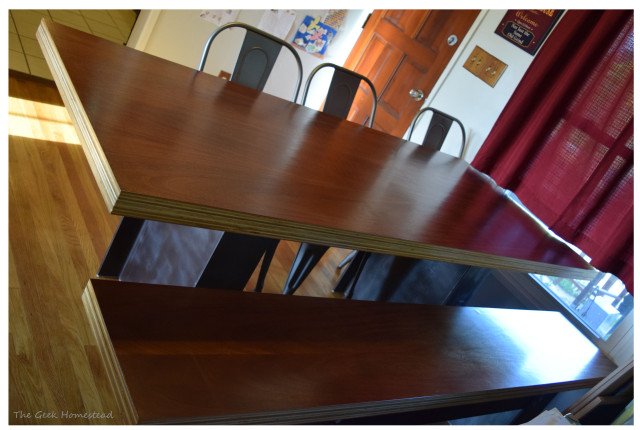

Overall, I am really pleased with this DIY mahogany dining table. As built it cost under $1000. There is the cost of the reclaimed wood that I didn’t use, but I think I will be able to come up with a good use for that someday. I do think you have to be pretty crazy to build something like this because it is heavy and that makes it difficult to work with. However, should you choose to do it you will end up with a solid table that should last for a long time.
-Joshua


looks great!
Thank you