How to insert the paper roll
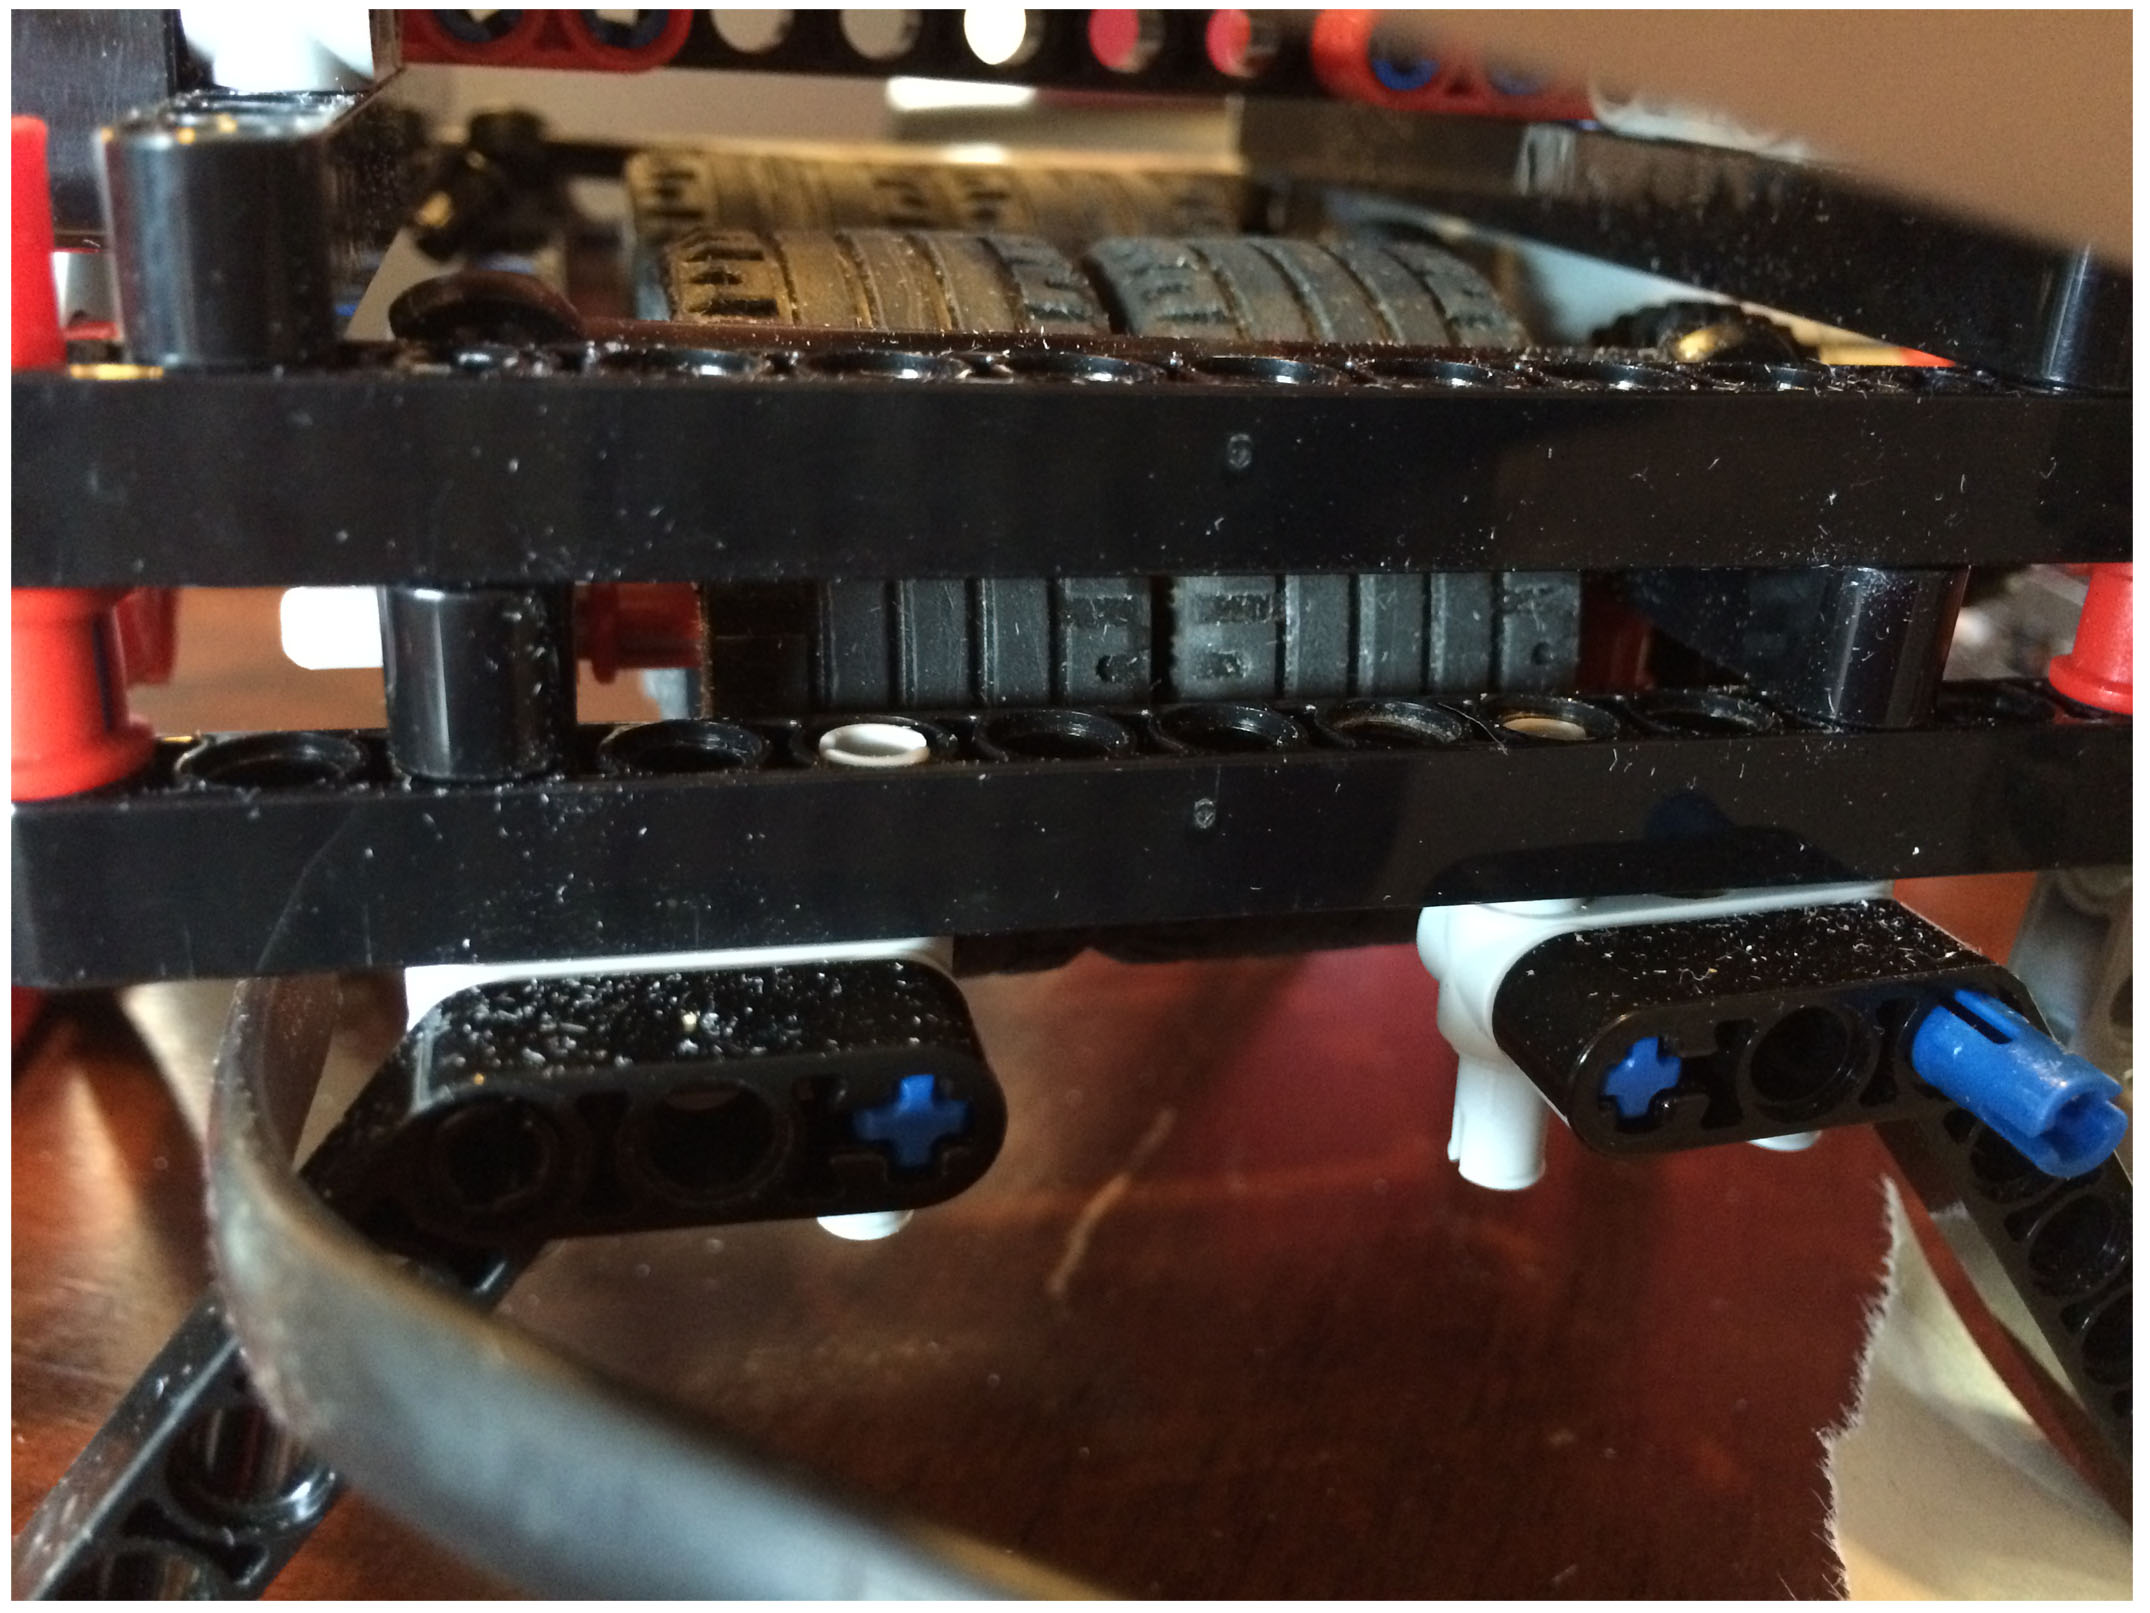
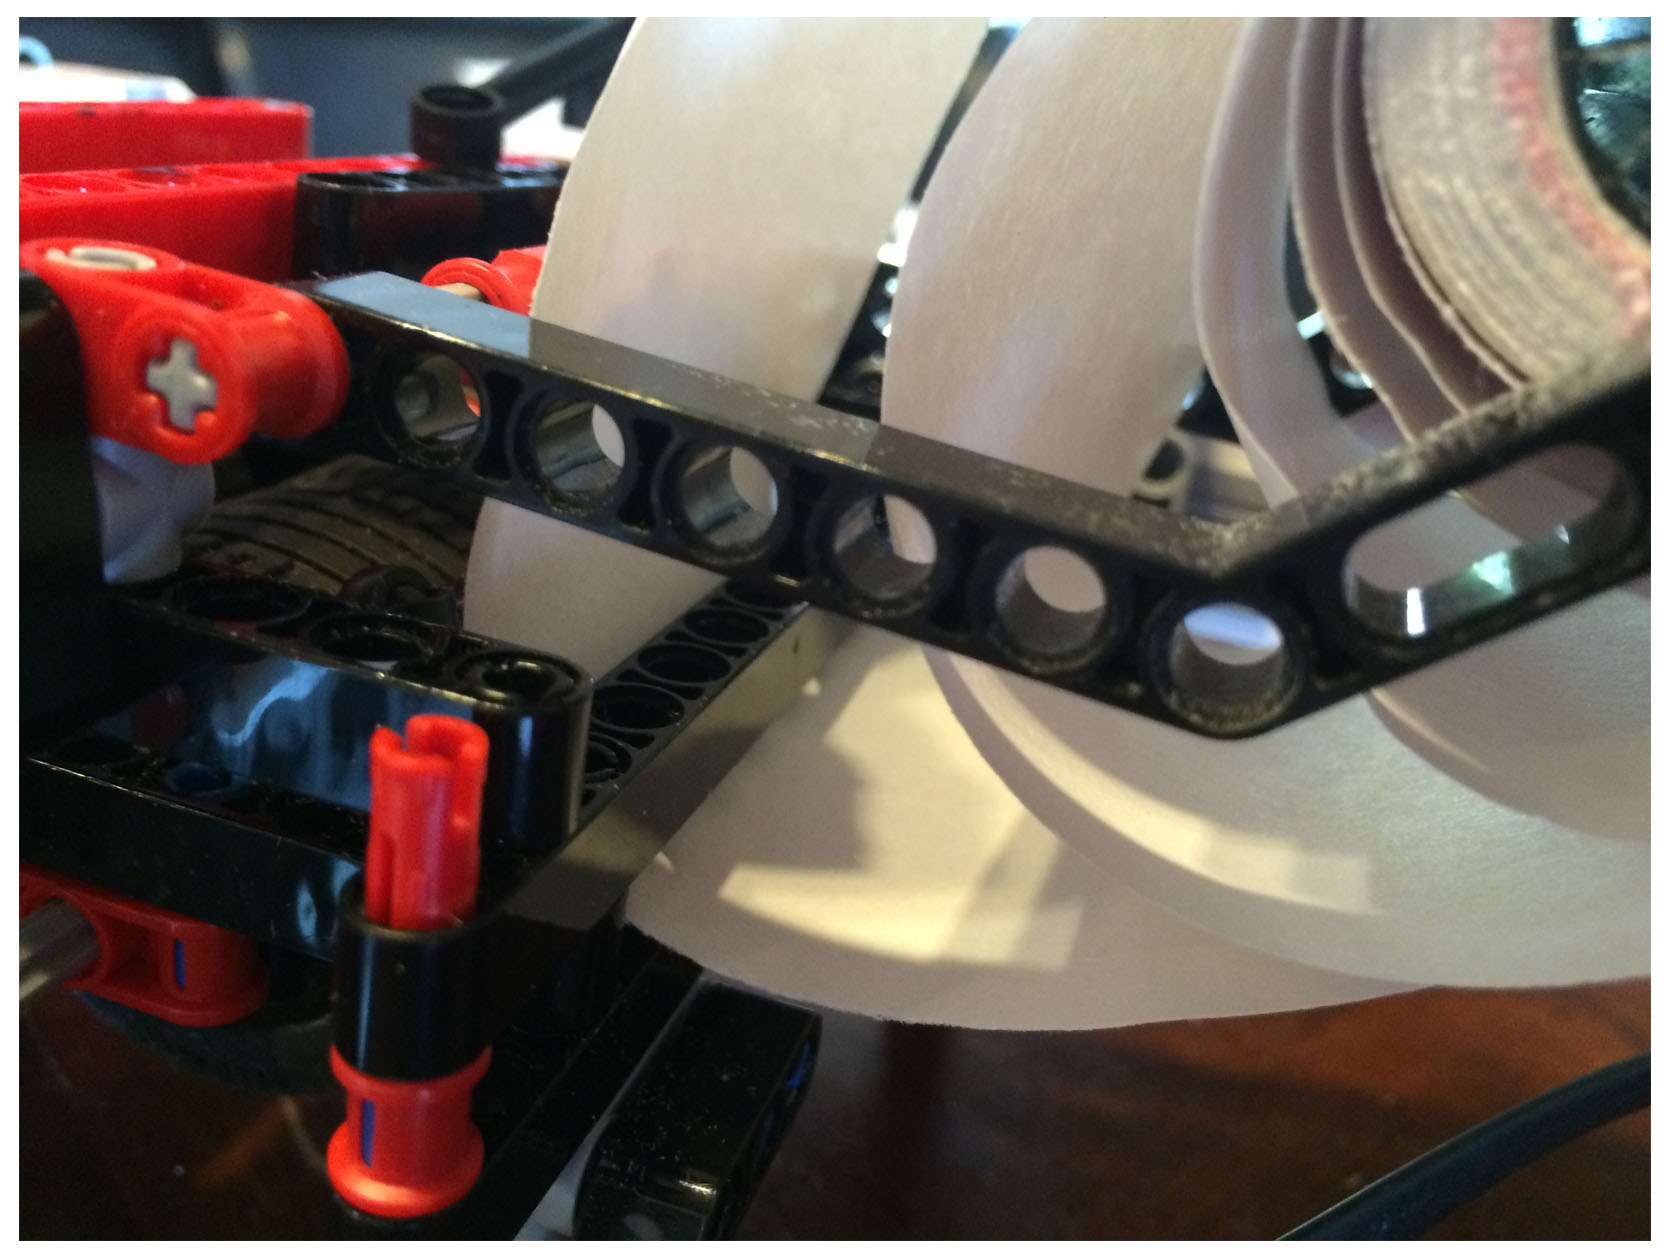
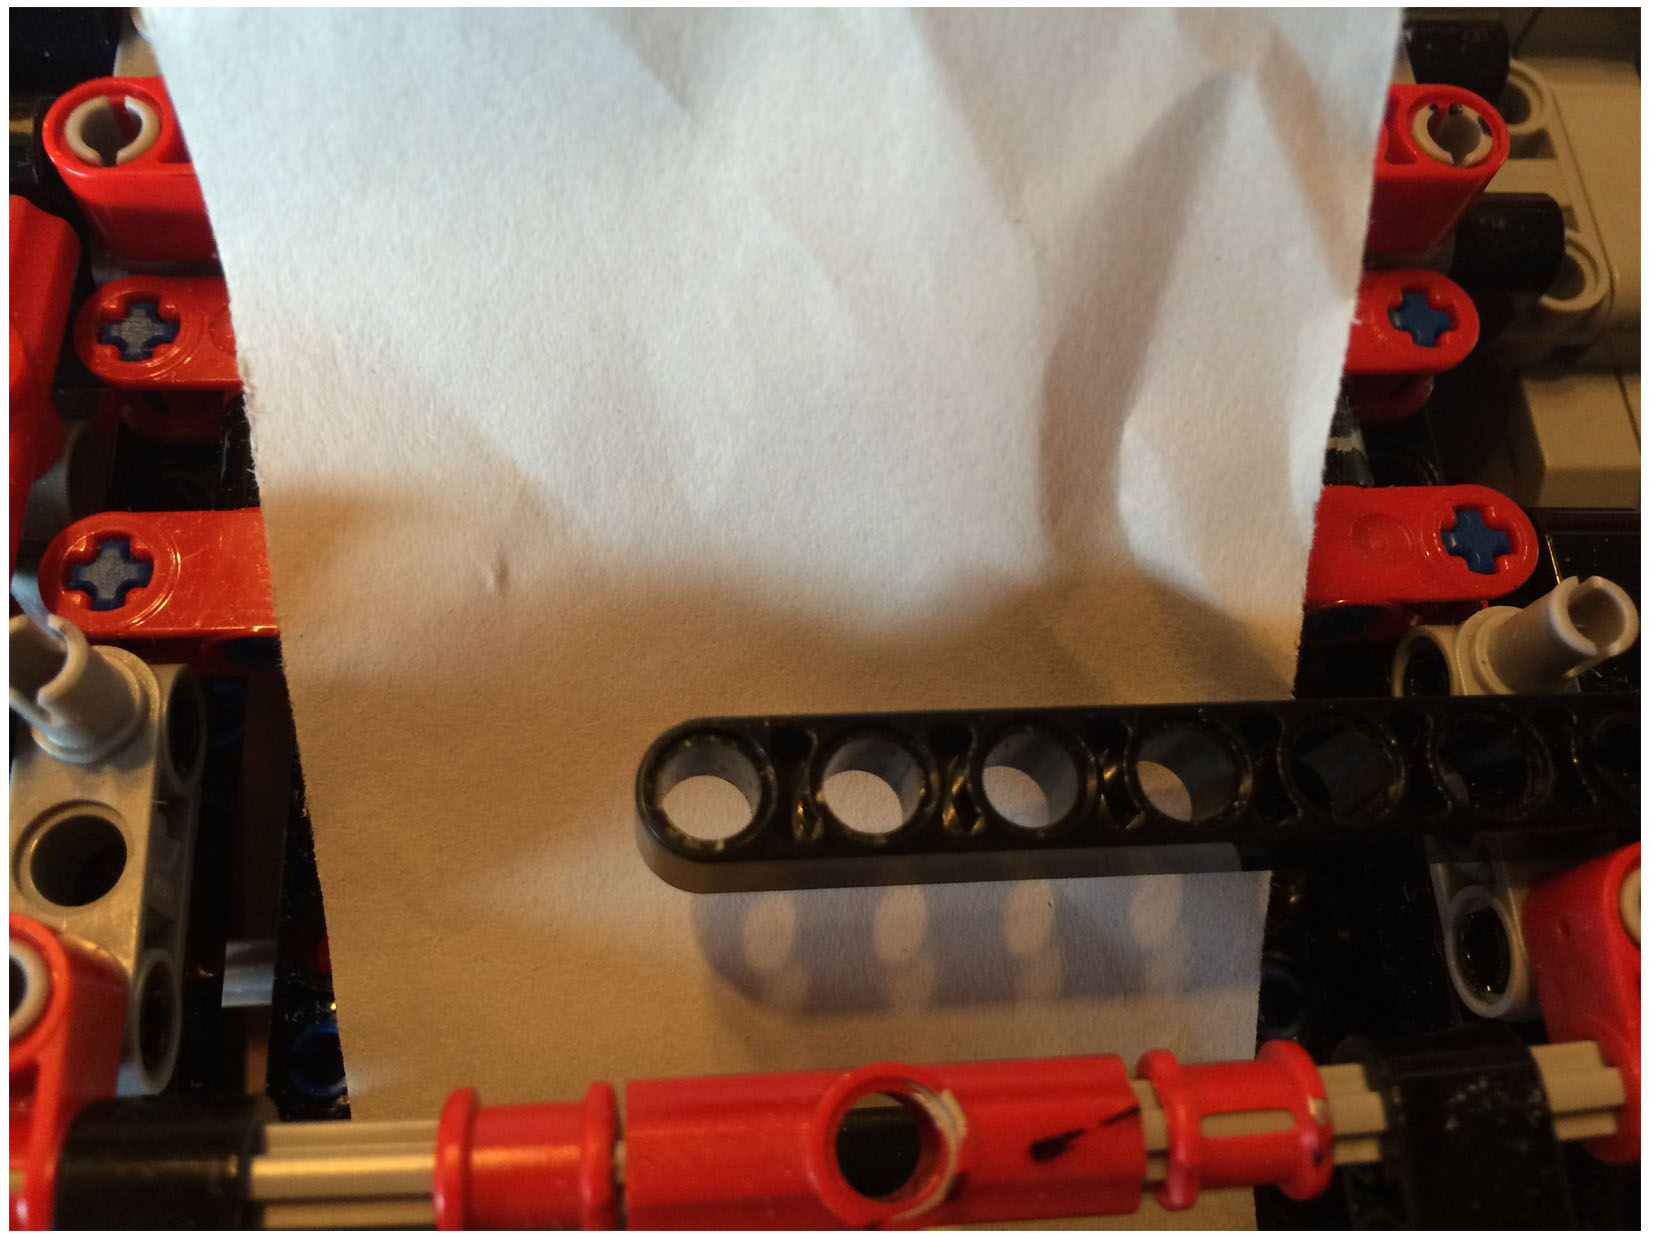
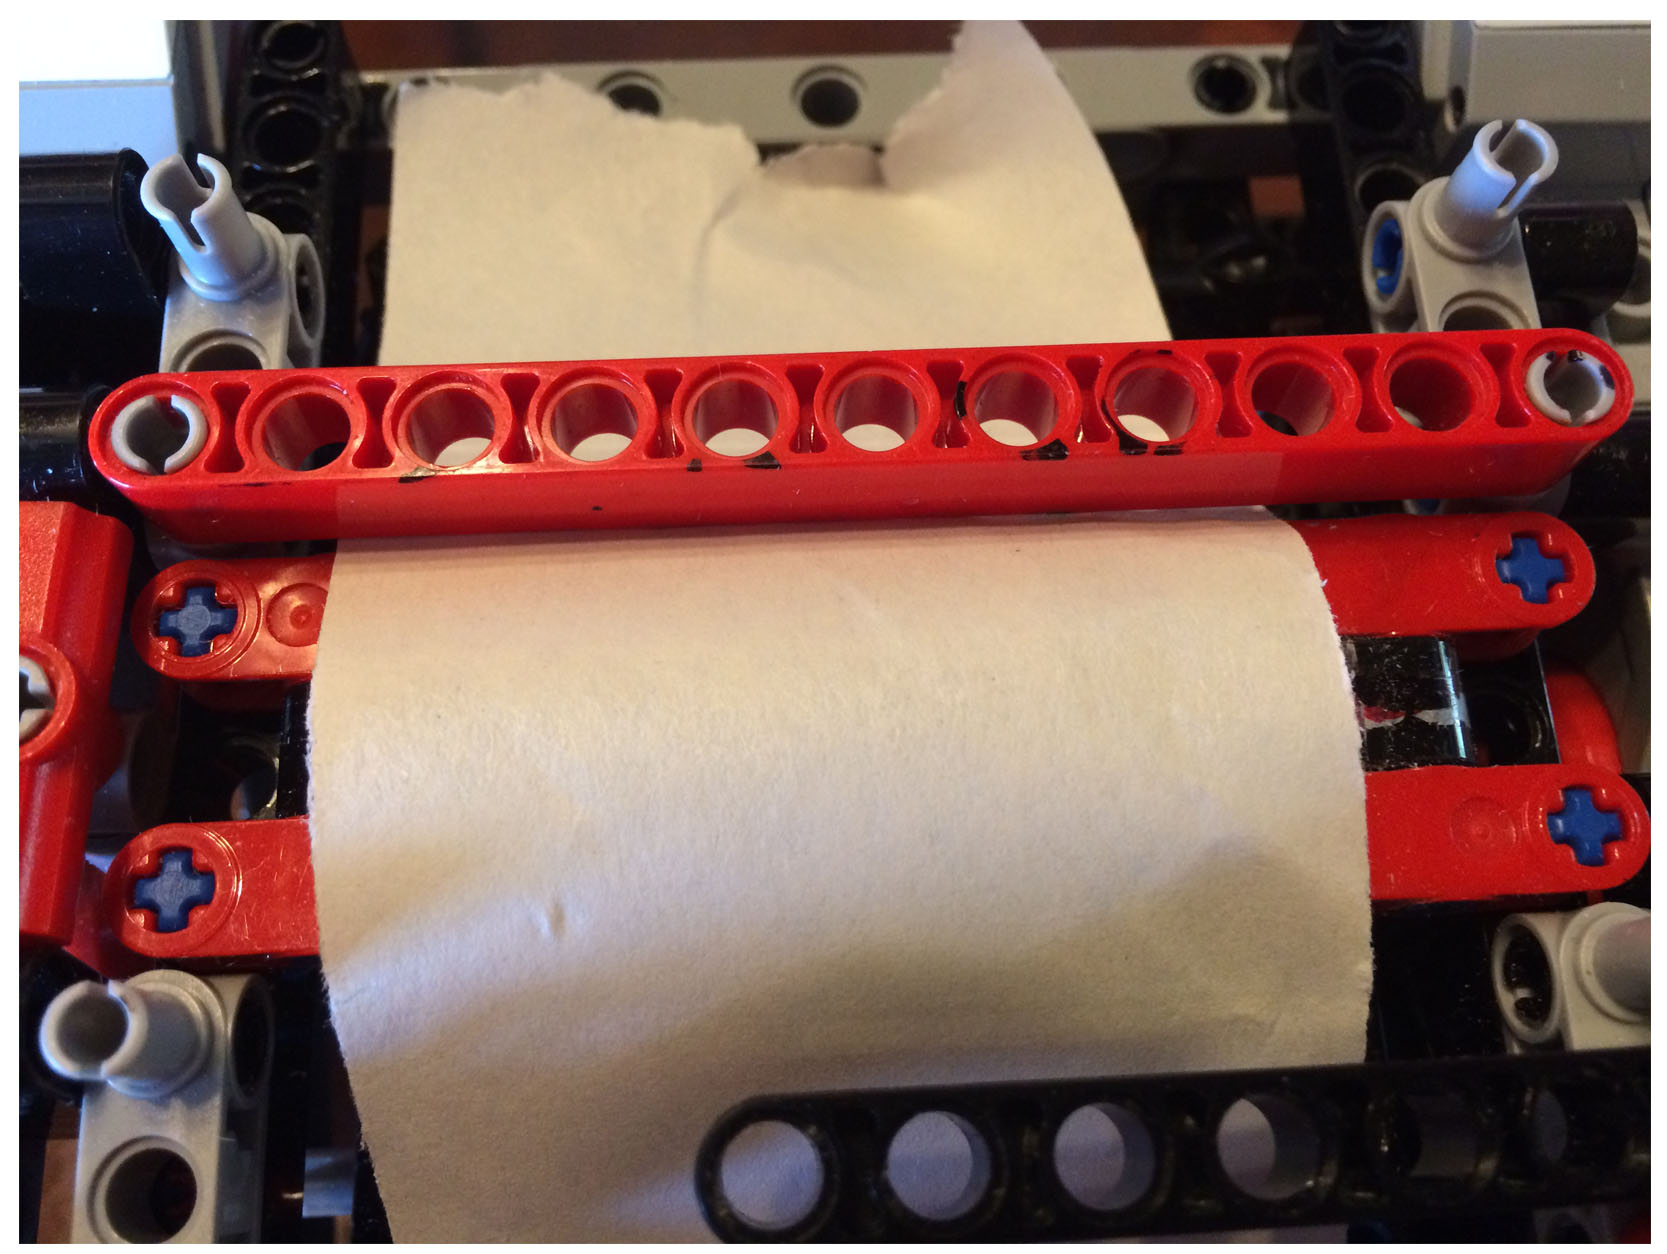
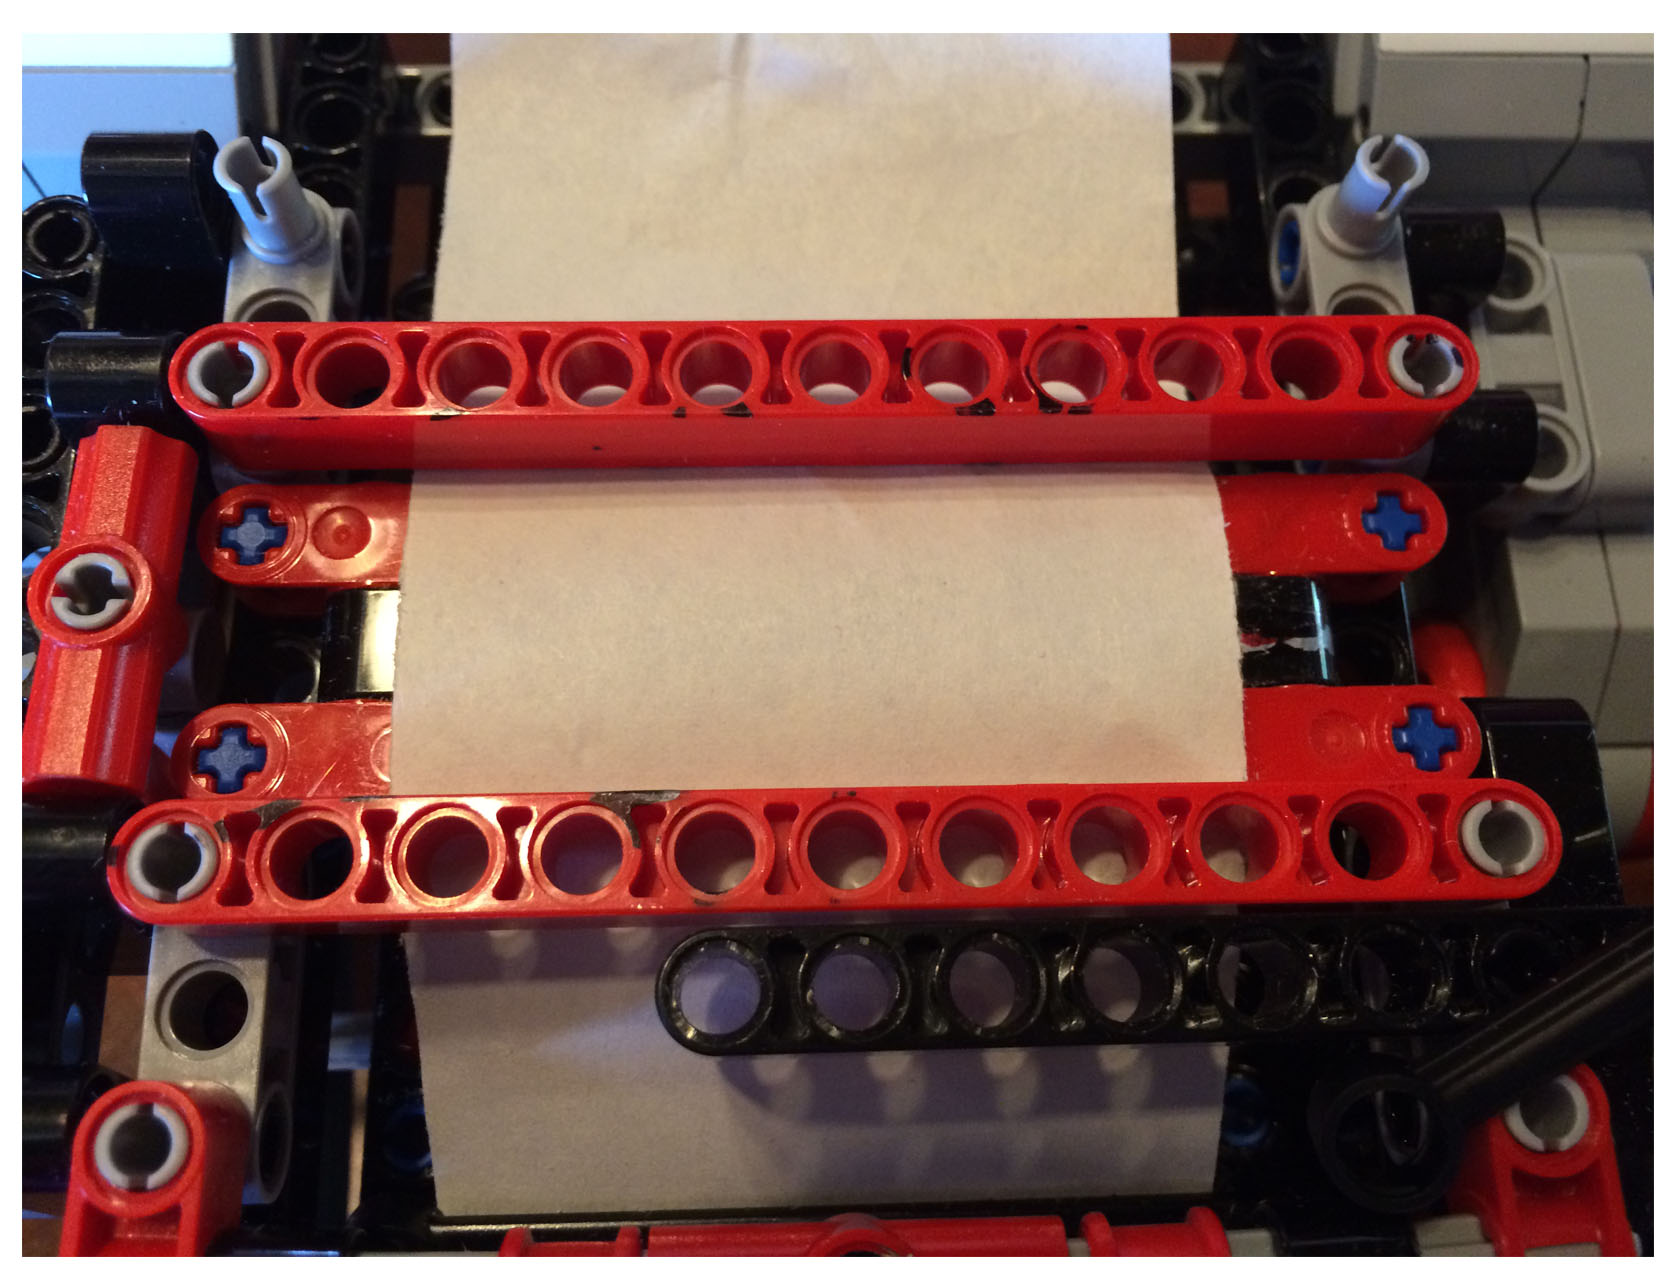
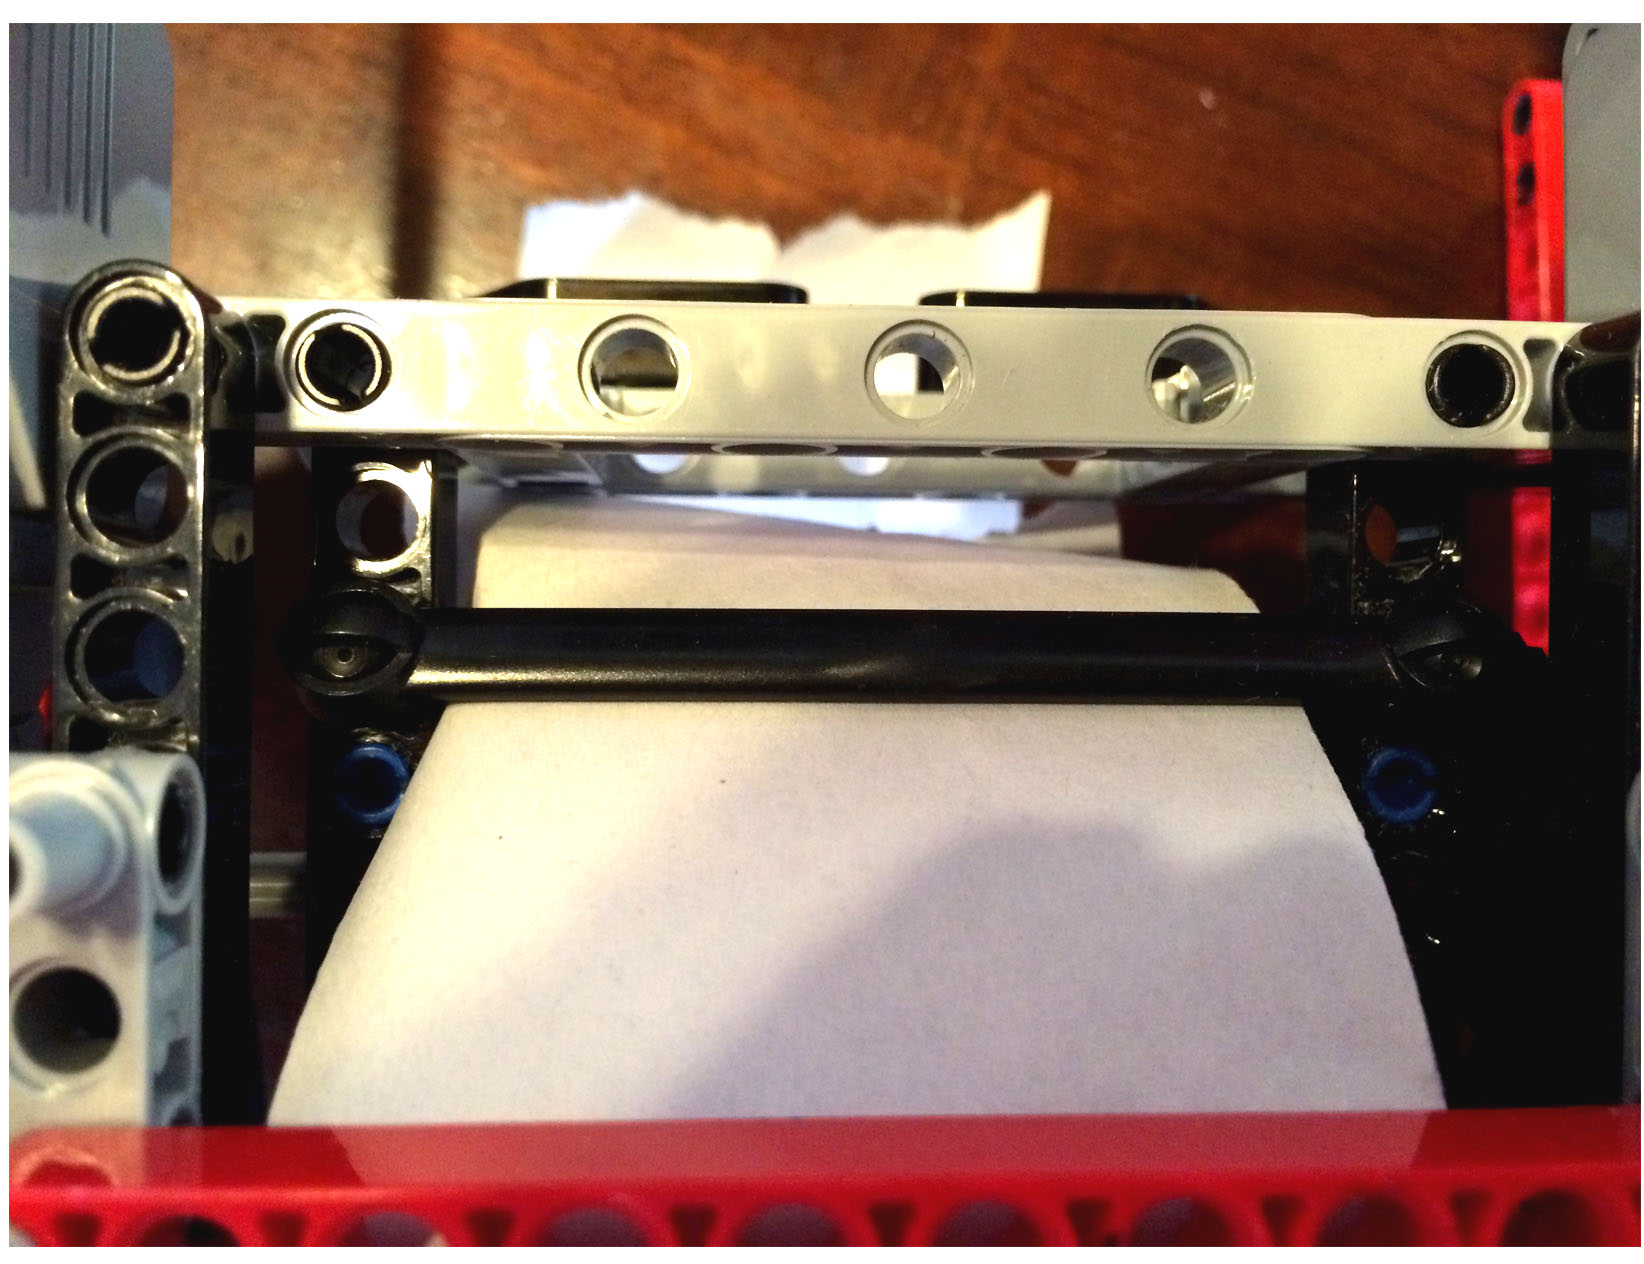
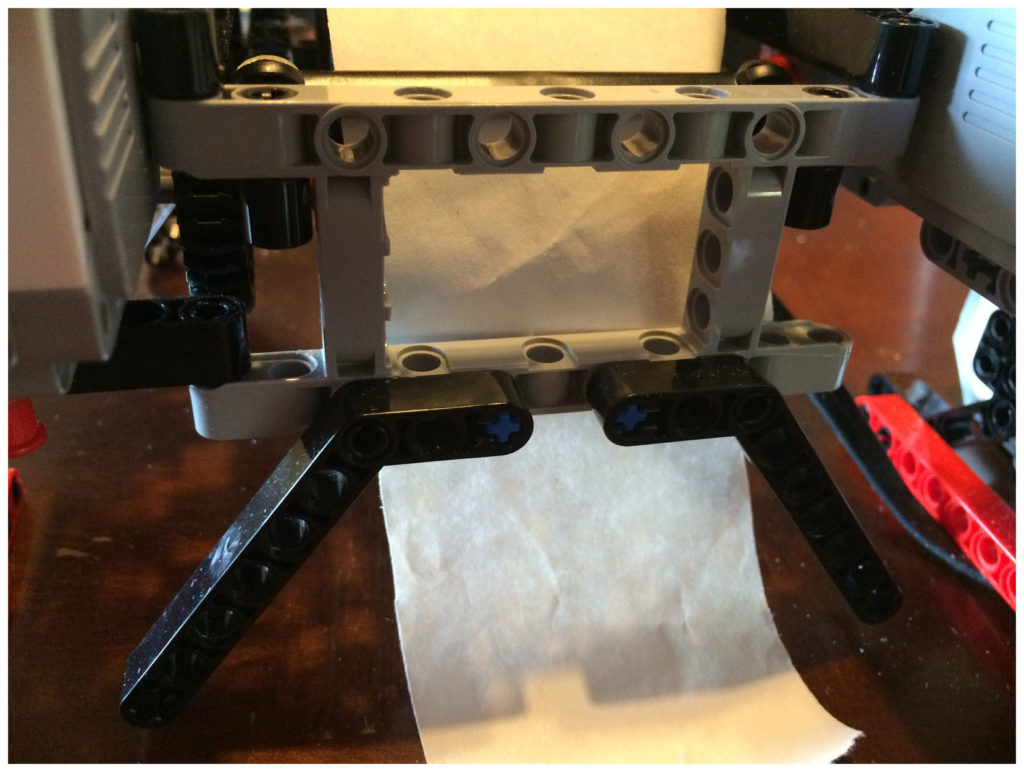
One issue we had was just inserting the paper roll! We kind of had to figure this out for ourselves, so I took a few pictures to show exactly how to do that. I will explain the pictures the best I can.
Take the assembly off that holds the Sharpie marker. It’s easier to insert the paper without it in place. Also, make sure that the paper roll isn’t on the axle too tightly and is able to unroll freely.
If you need to take a closer look at the pictures, you can now click on them and see each by themselves in a new tab. For example, if you wanted to zoom in on a particular area.
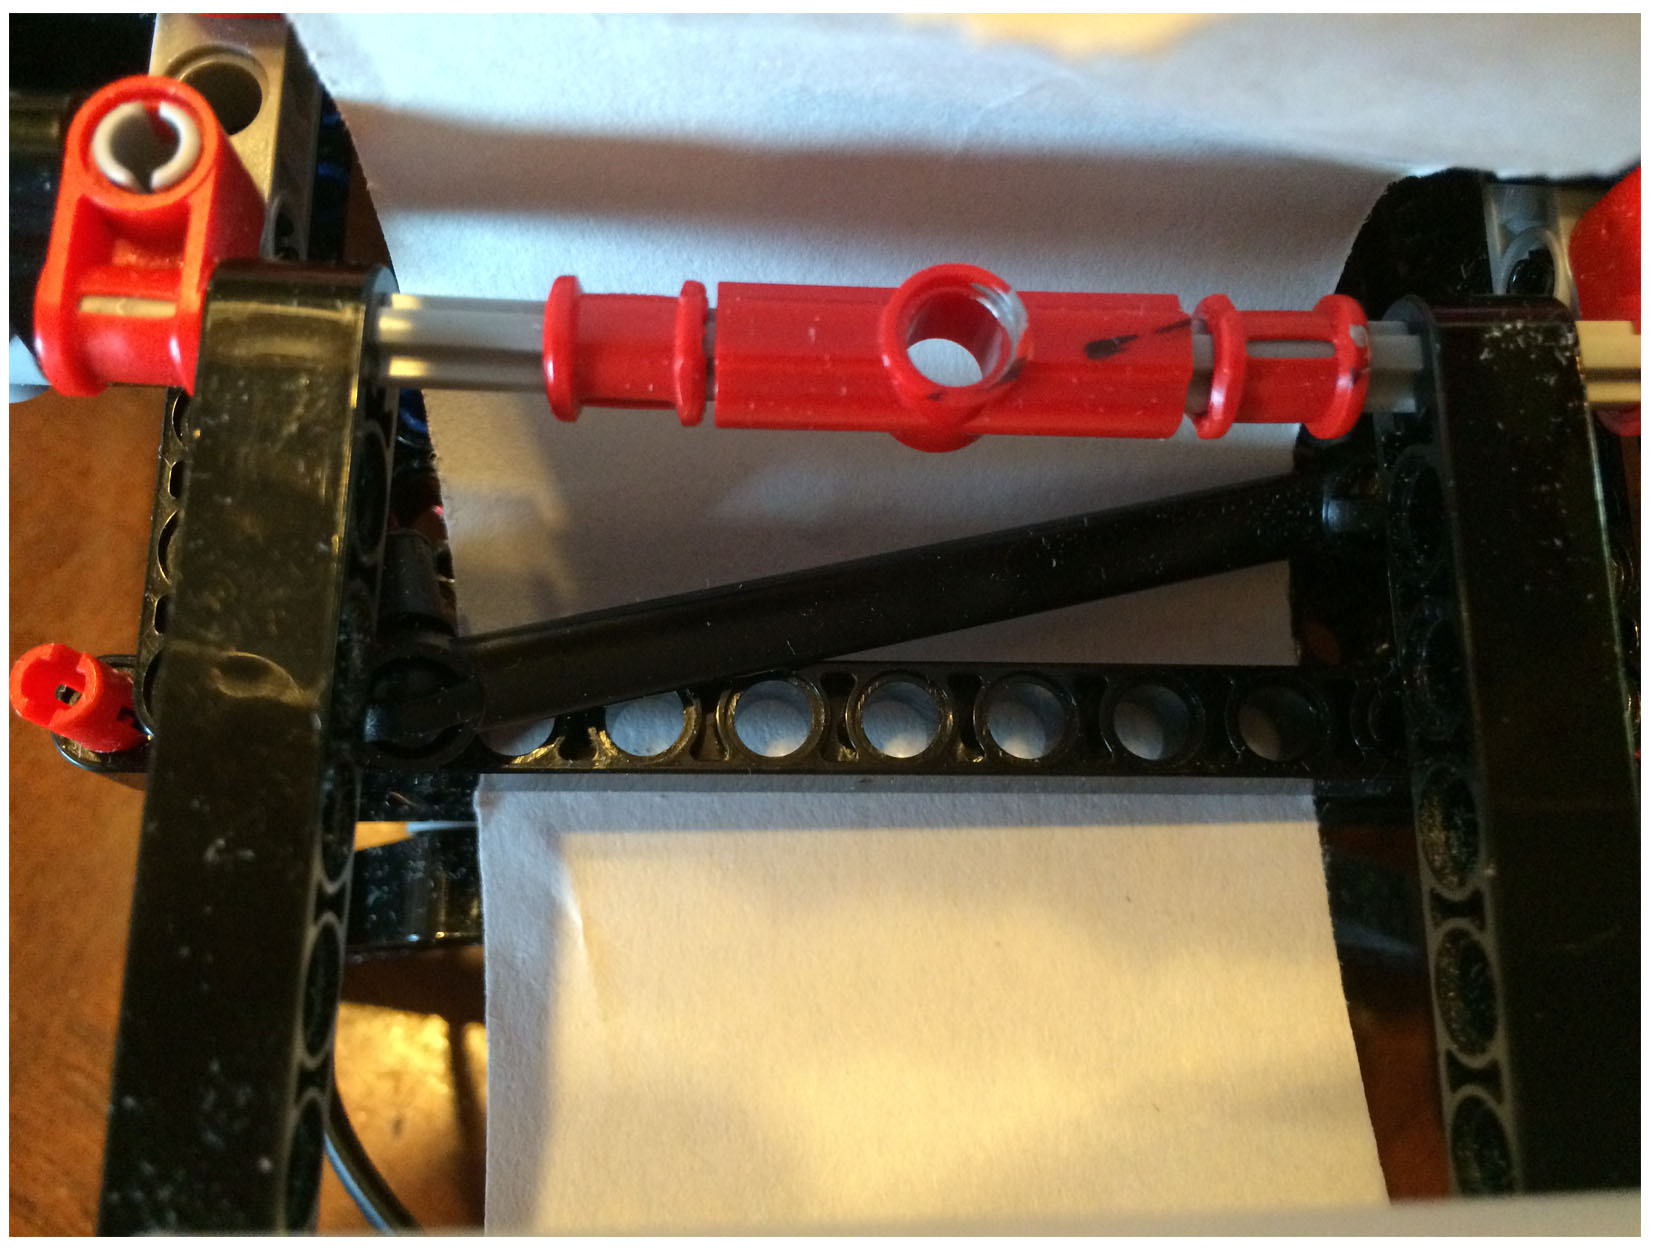
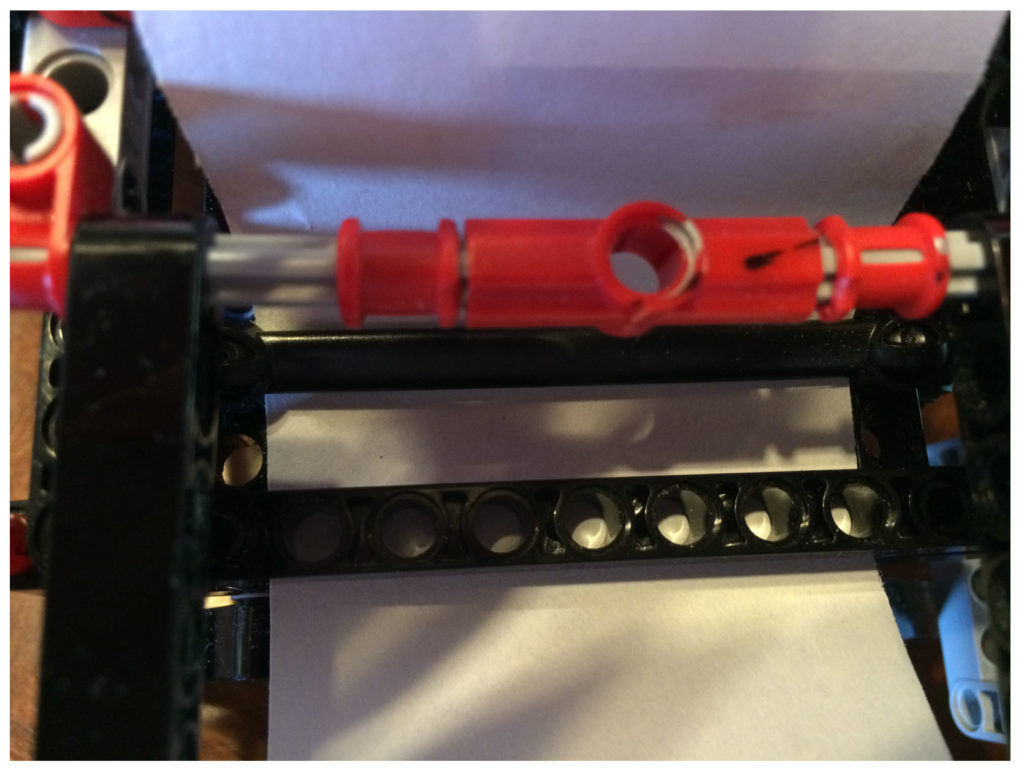
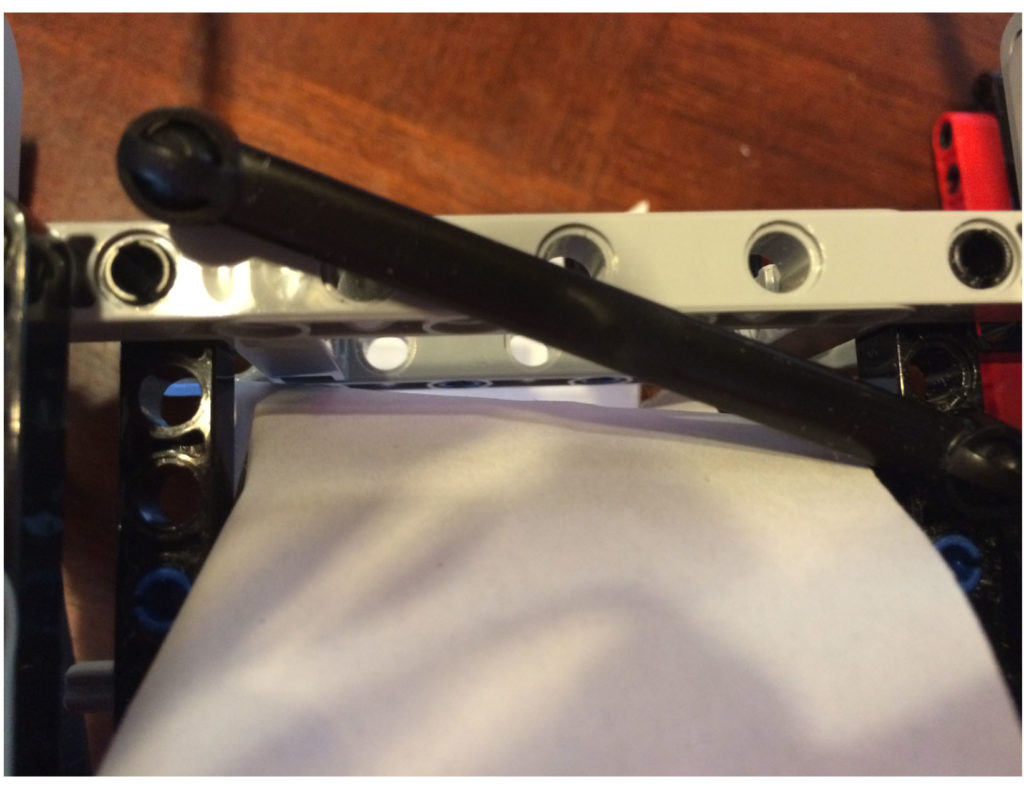
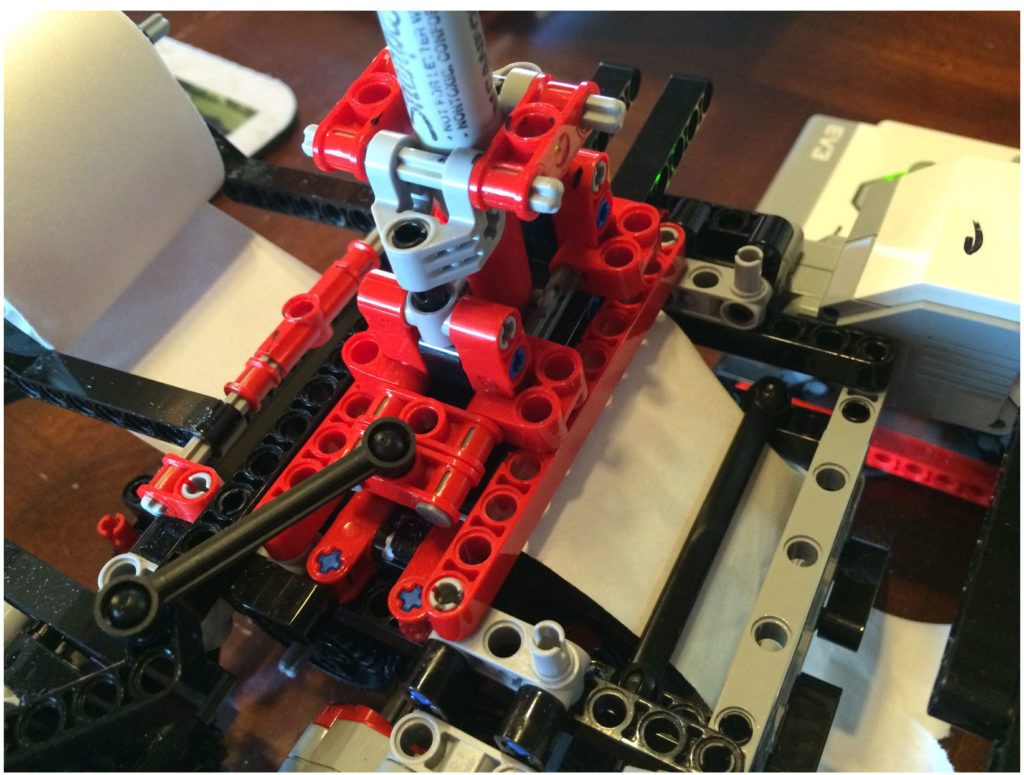
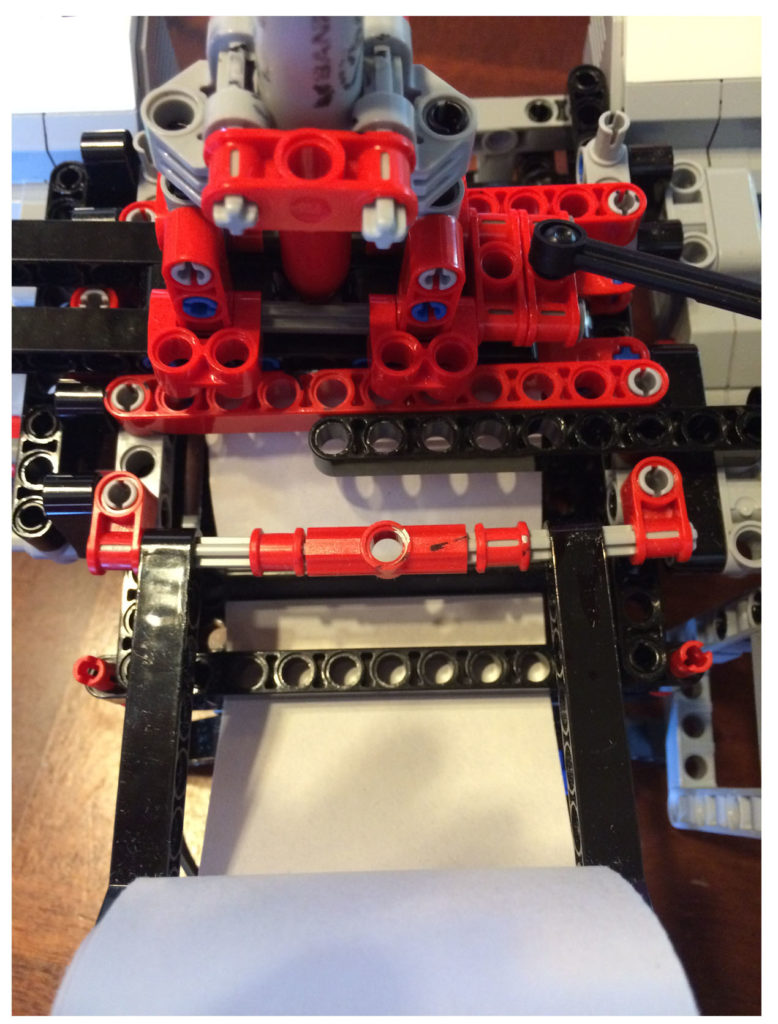
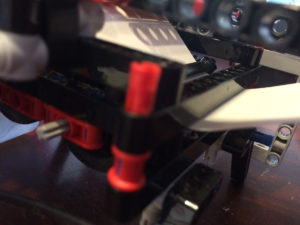
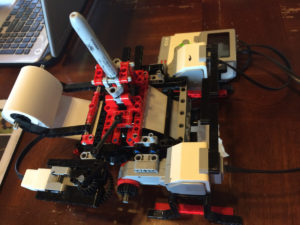
A few more pics just in case they are needed.

Impressed!
A lot of hard work there.
I agree
Pingback: Lego Mindstorms: Wack3m Robot | The Geek Homestead
Hello!! You said that you came up with all the letters, exported here, but I can’t find them. Can you direct me as to where to find them to help my son?
Hi, Tiffanie! Thanks for stopping by! The way we set up the letters for download is kind of confusing. My son and I will work on it right now to get it more accessible.
Update: I have rewritten the post to make it more clear where to download the letters and have also put up a few pictures to show what they will look like in the Lego Mindstorms programming environment. I hope this helps!
Hello I loved what you made, it is awesome continue like this and if you have any other projects send it to me
Nice robot but it isn’t really working for me and i don’t have any paper rolls
wow
That’s so neat! I didn’t even know that this was a thing! I would have a lot of fun putting this together and tinkering with it.
What type of marker are you using?
We used a Sharpie for the banner printer bot. I think that is what we saw other people using in their banner printer bot builds. We did end up with permanent marker marks on some of our LEGO pieces though.
My son and I put together the printer. But we cannot write a program. Please share the program.