The Tinker Crate line at Kiwico is for ages 9-16+ and is a little more complicated than the Kiwi Crates for ages 5-8. Most Tinker crates are engineering-related since there is a separate line called Doodle Crate (for ages 9-16+) for crafting.
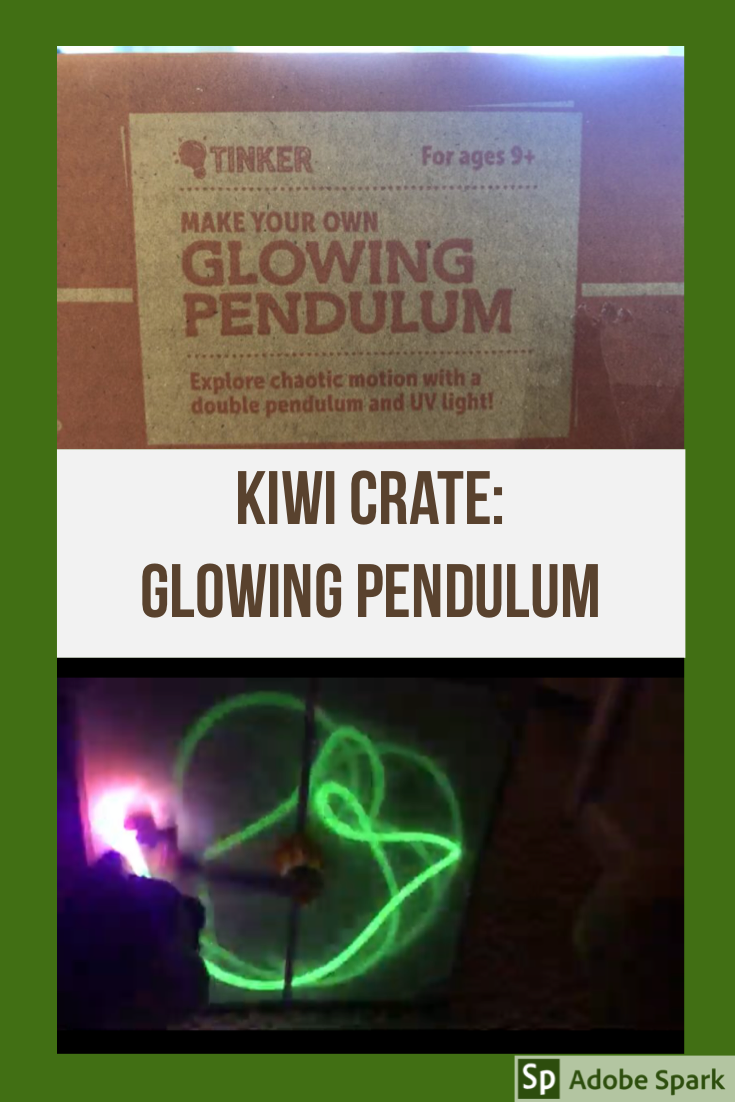
Today’s Kiwico Tinker Crate is the Glowing Pendulum, which contains a project that illustrates chaotic motion as well as fluorescence. This is another box that I think my kids have done before, but this time, my son Ian was able to complete the project by himself. Usually, the kids have to share their Kiwi Crates and Tinker Crates since it would be expensive to buy each of them their own.
I mostly watched Ian complete the project since the instructions were very clear and he was able to follow them by himself.
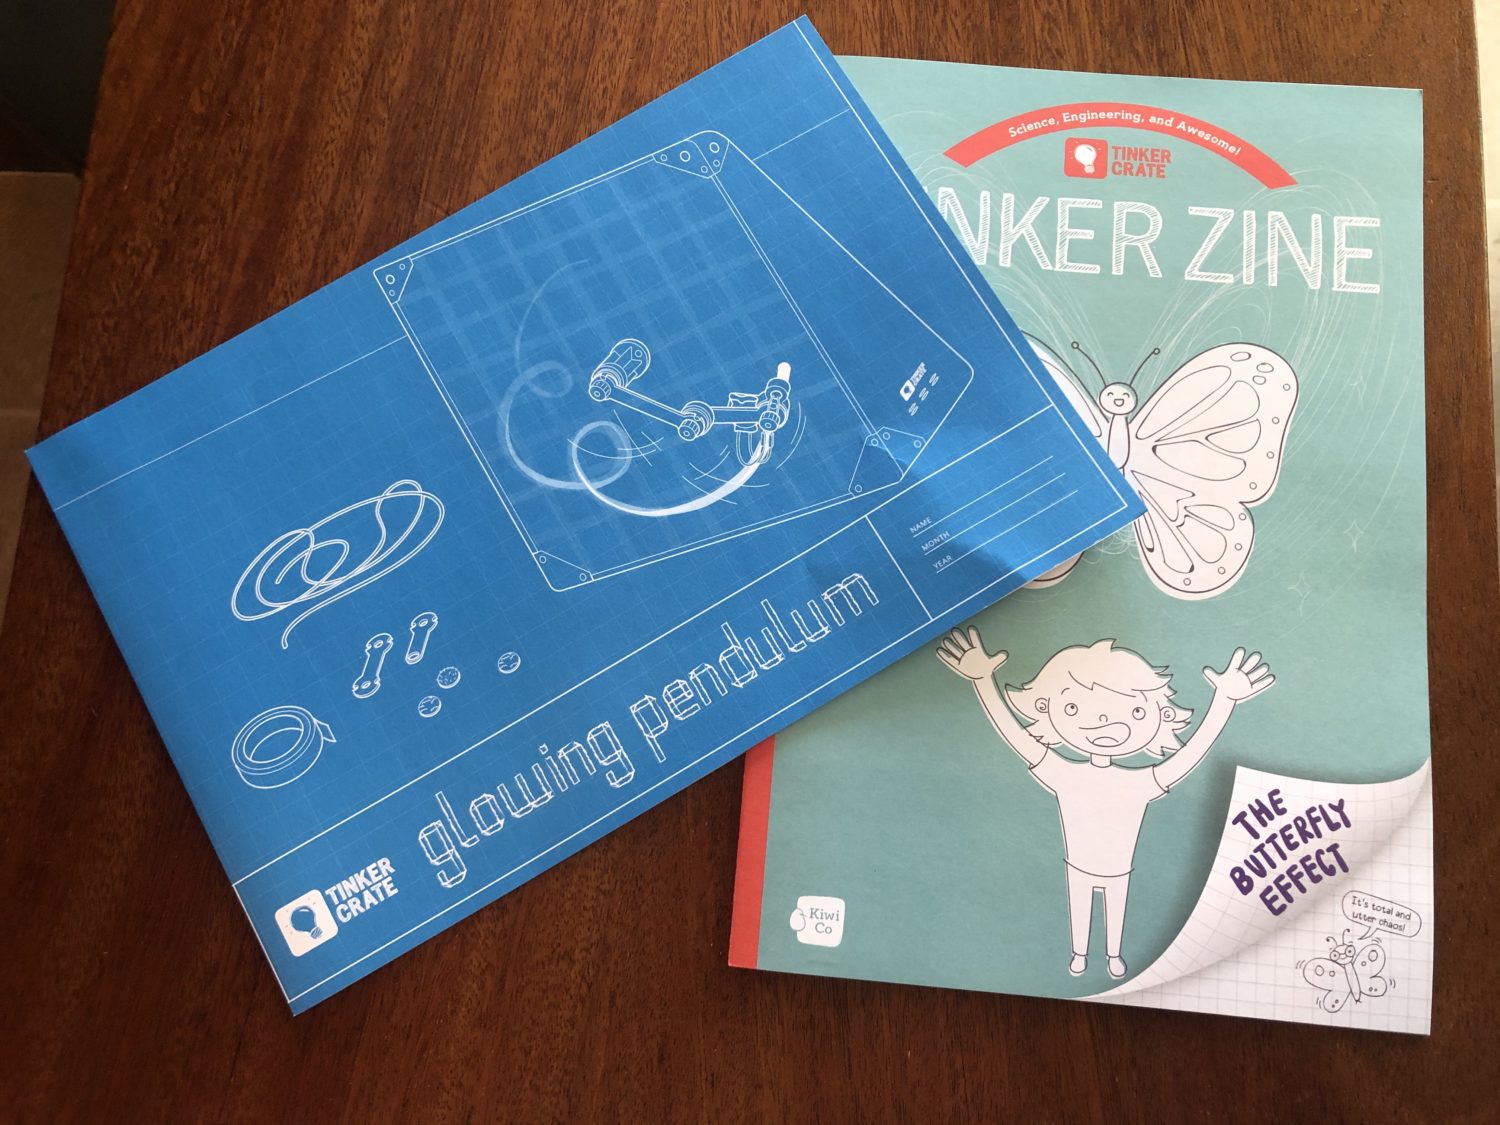
The “blueprint” style for the instructions is a nice touch!
This is the table of contents for the Tinker Zine. It has interesting facts related to your crate and additional projects to do either with the included materials or with things you might have around the house.
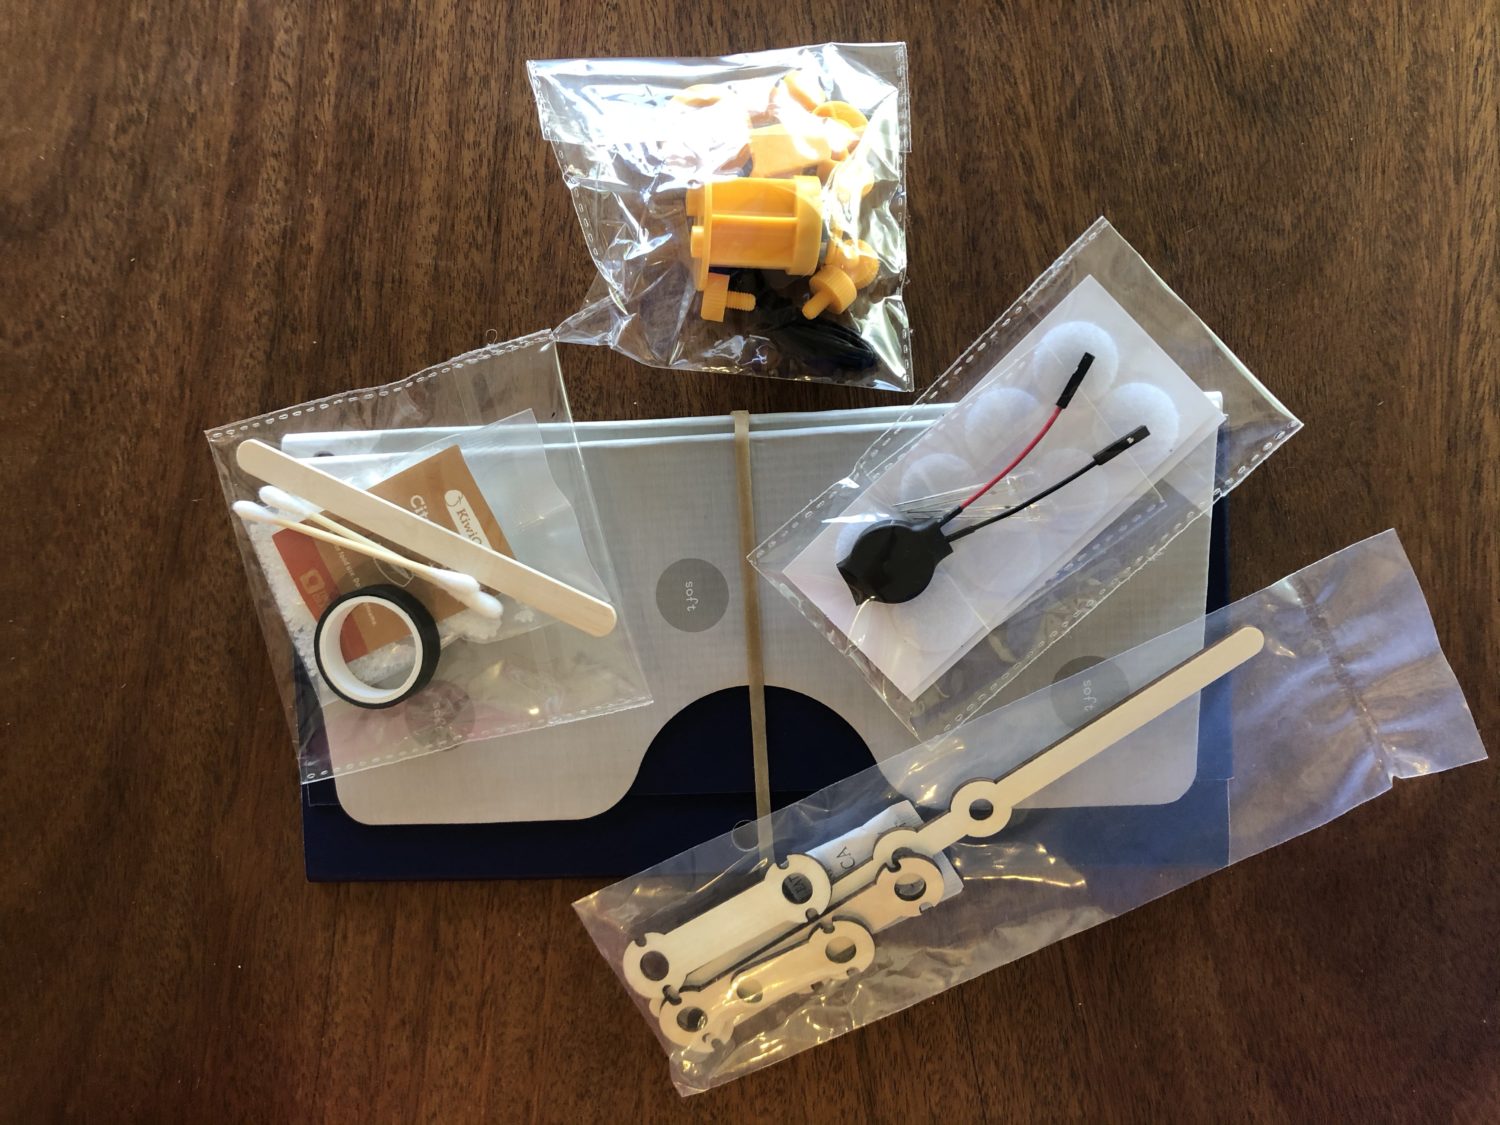
These are the materials for the glowing pendulum as well as an extra project to make your own invisible ink.
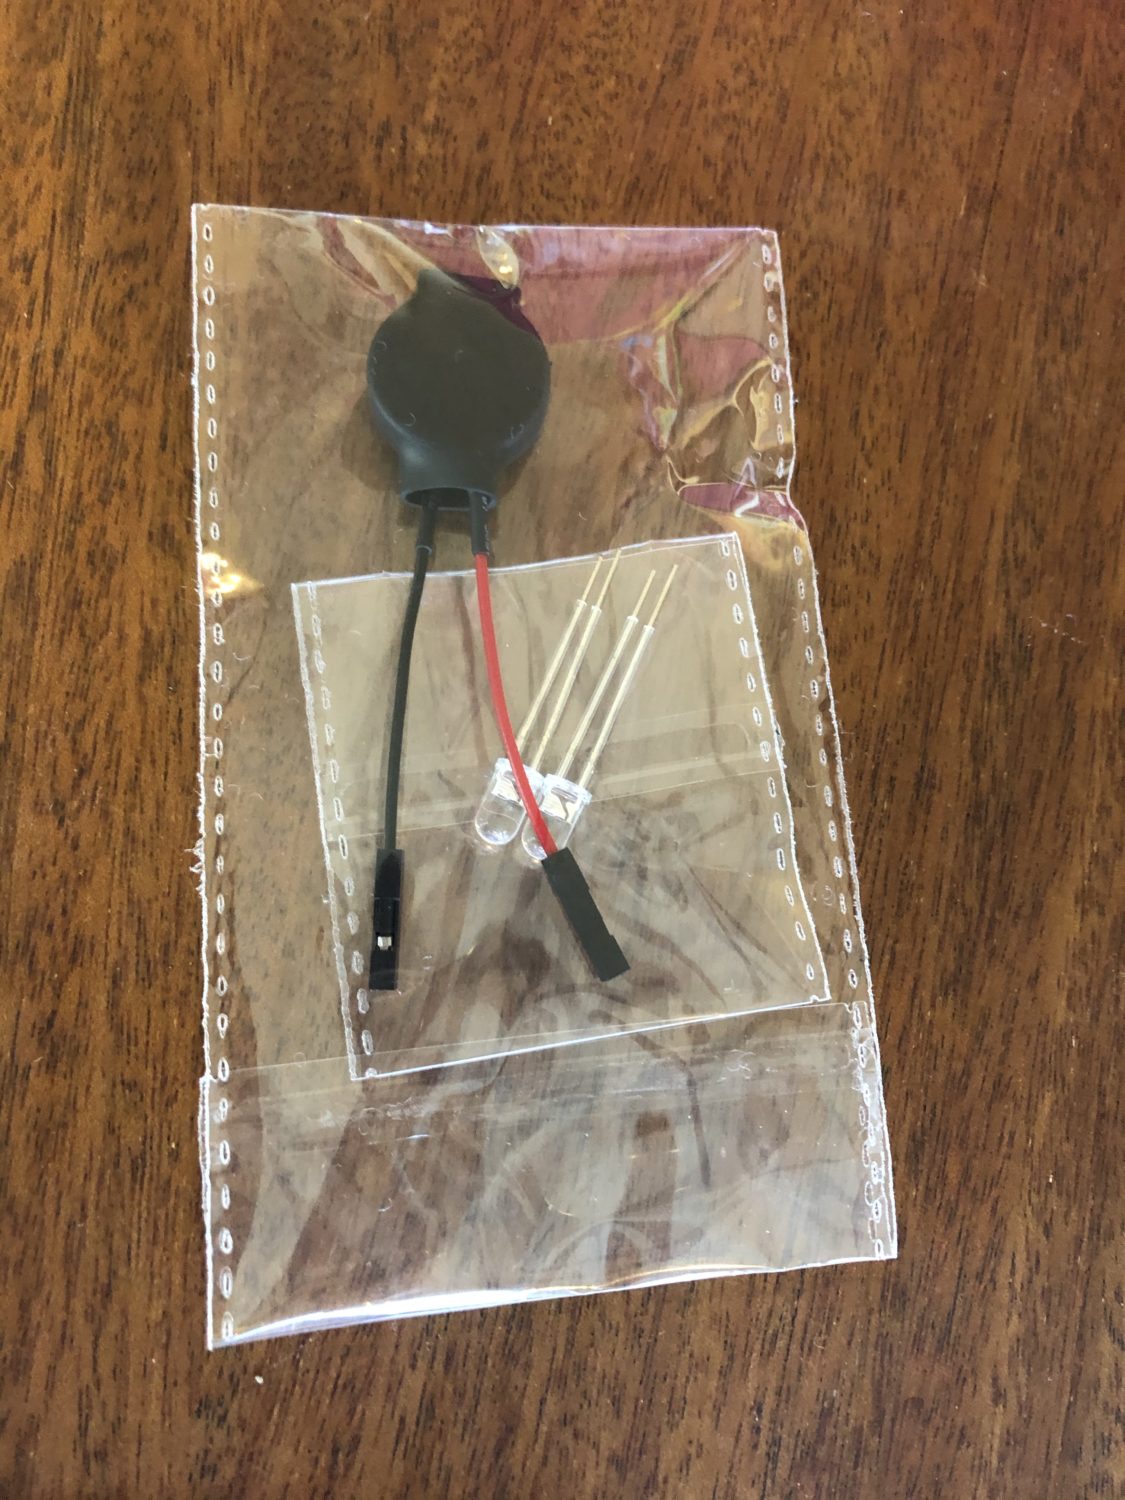
These LED bulbs and a circuit containing a battery would be interesting to use in another project. I like it that the crate comes with two LED bulbs not just one.
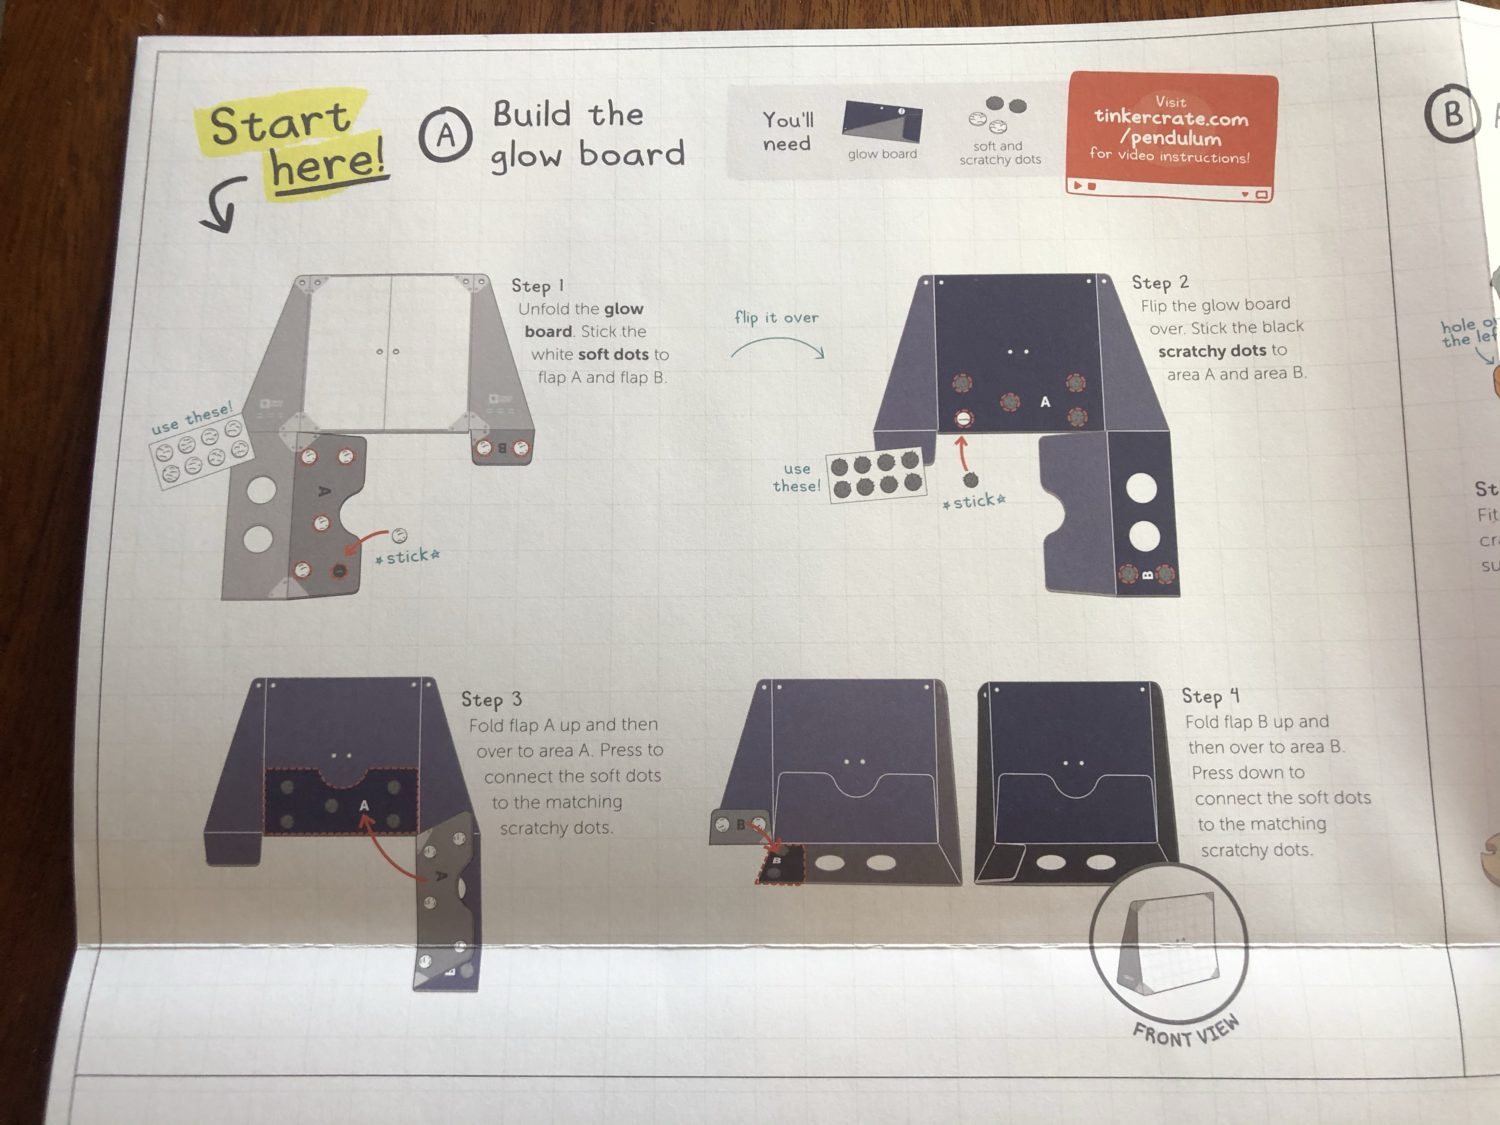
This is where you start for the project: making the glow board.
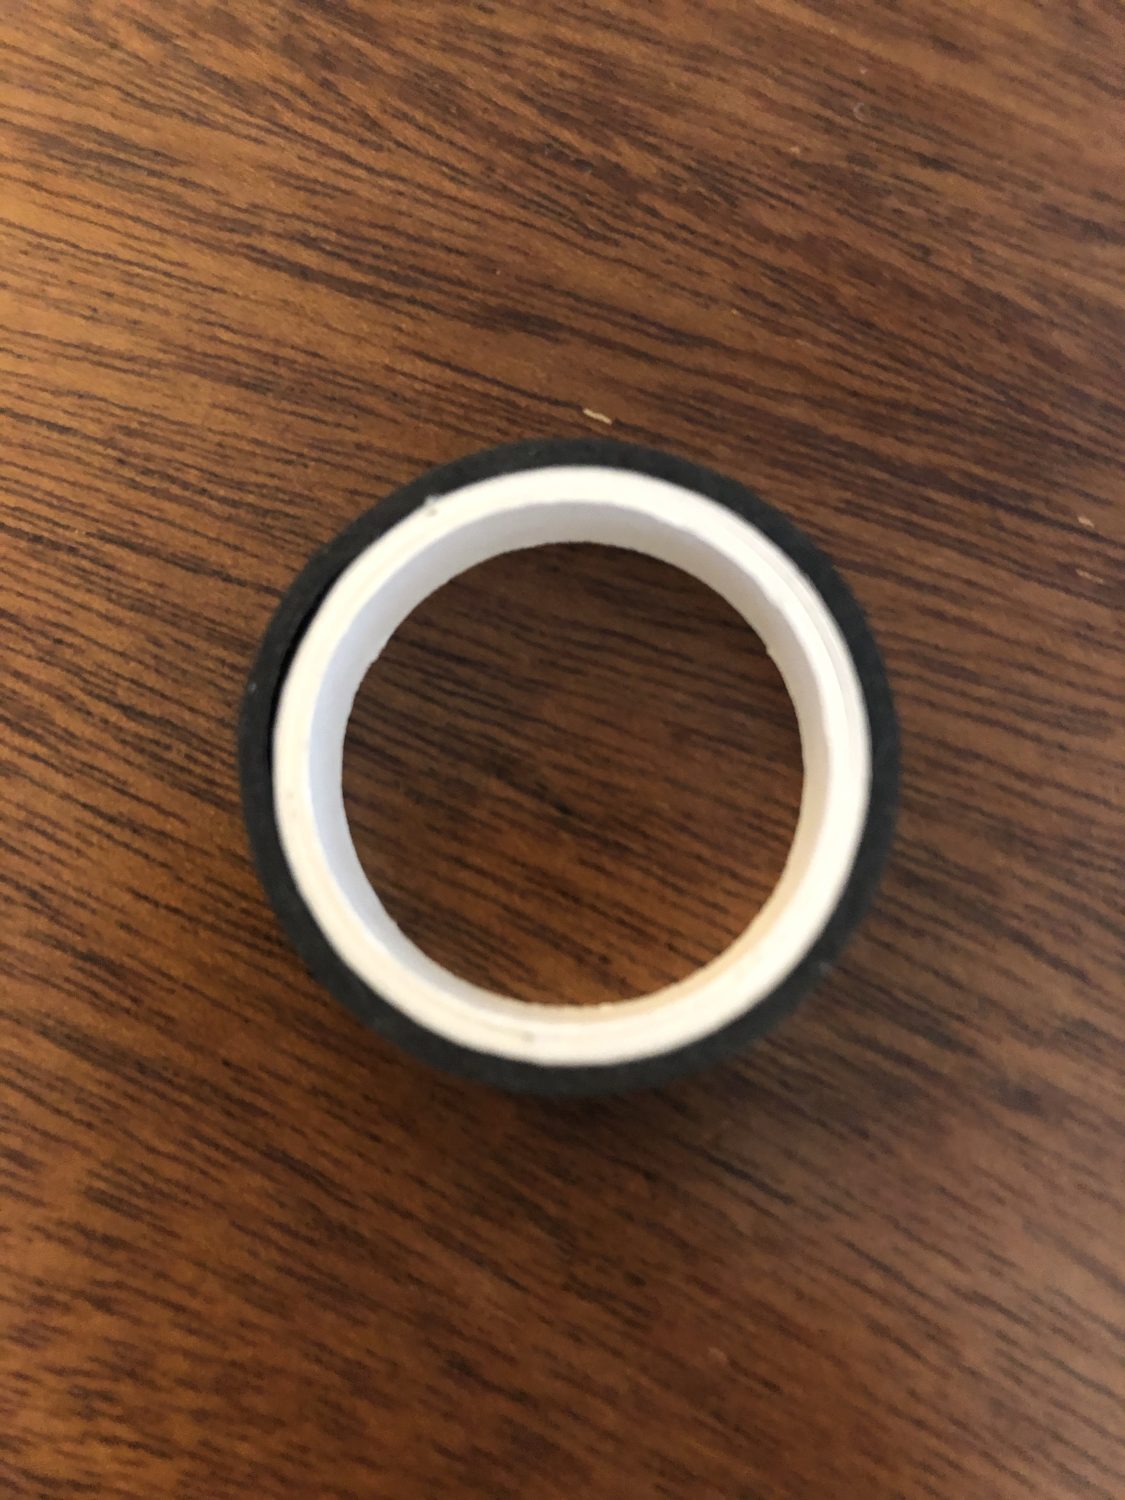
We only needed a little bit of this washi tape for assembling the glow board. The rest of the roll will definitely be useful in other projects!
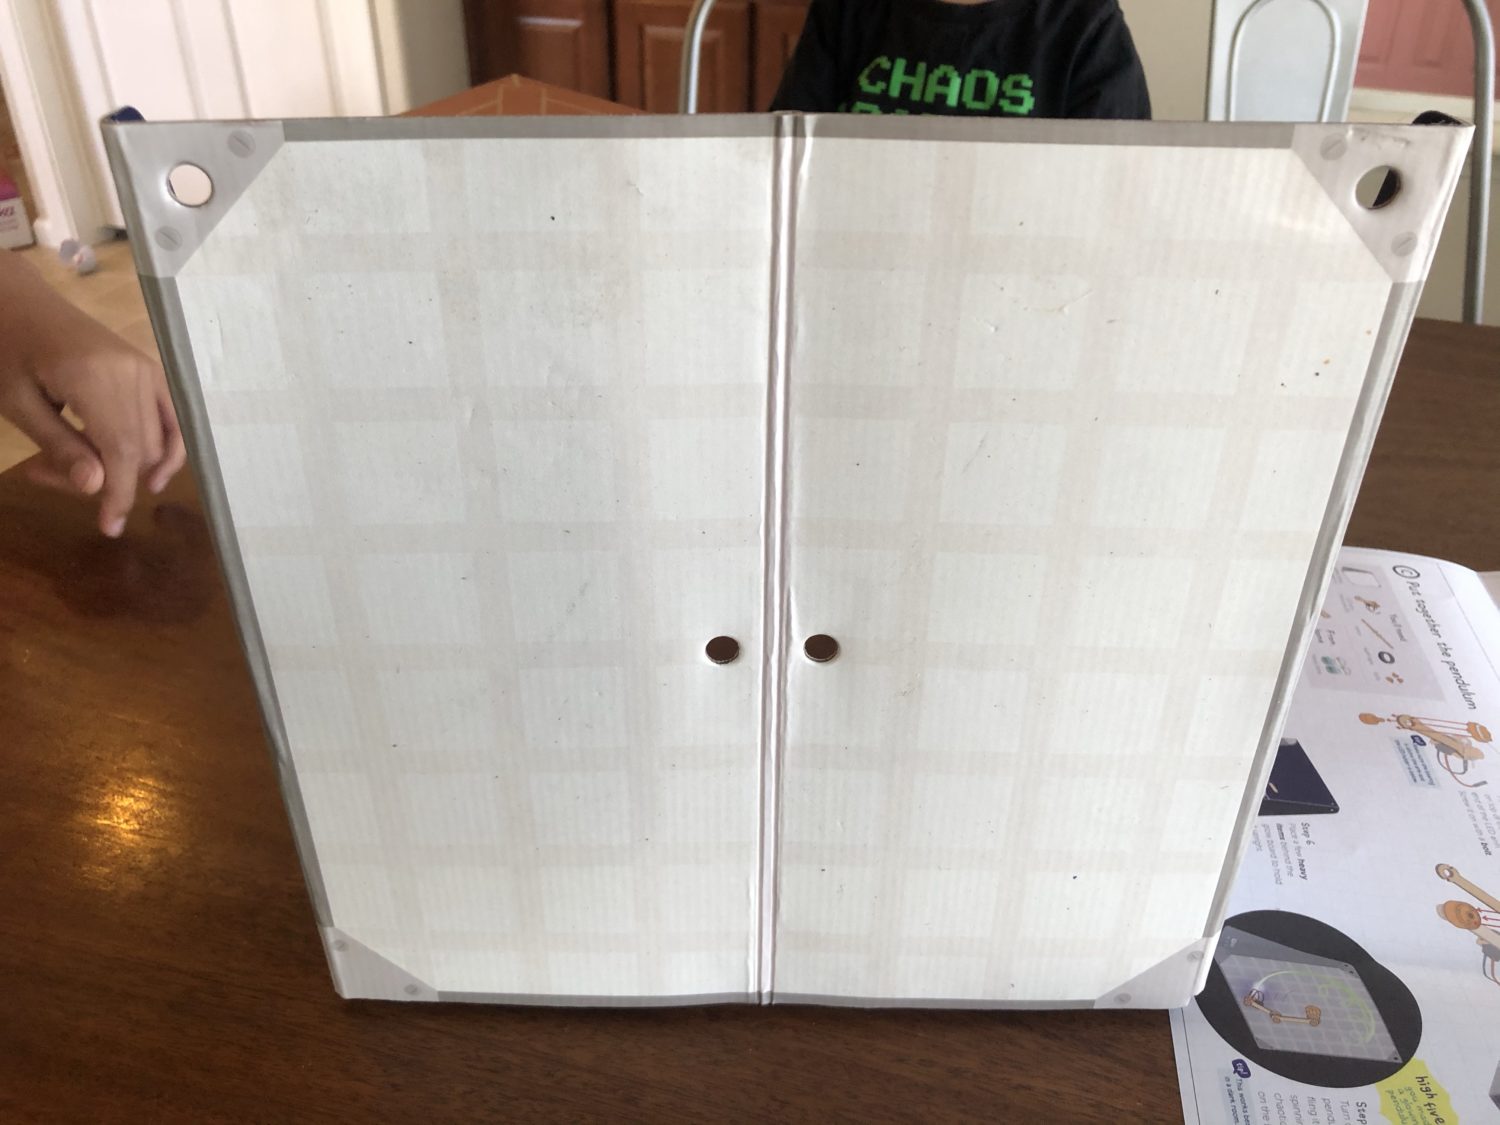
Here is the glow board after assembling and before installing the double pendulum. I had no idea we were going to be doing this project today, but my youngest son’s shirt is very much appropriate for what we learned! He is a bit of chaos in his cute little self.
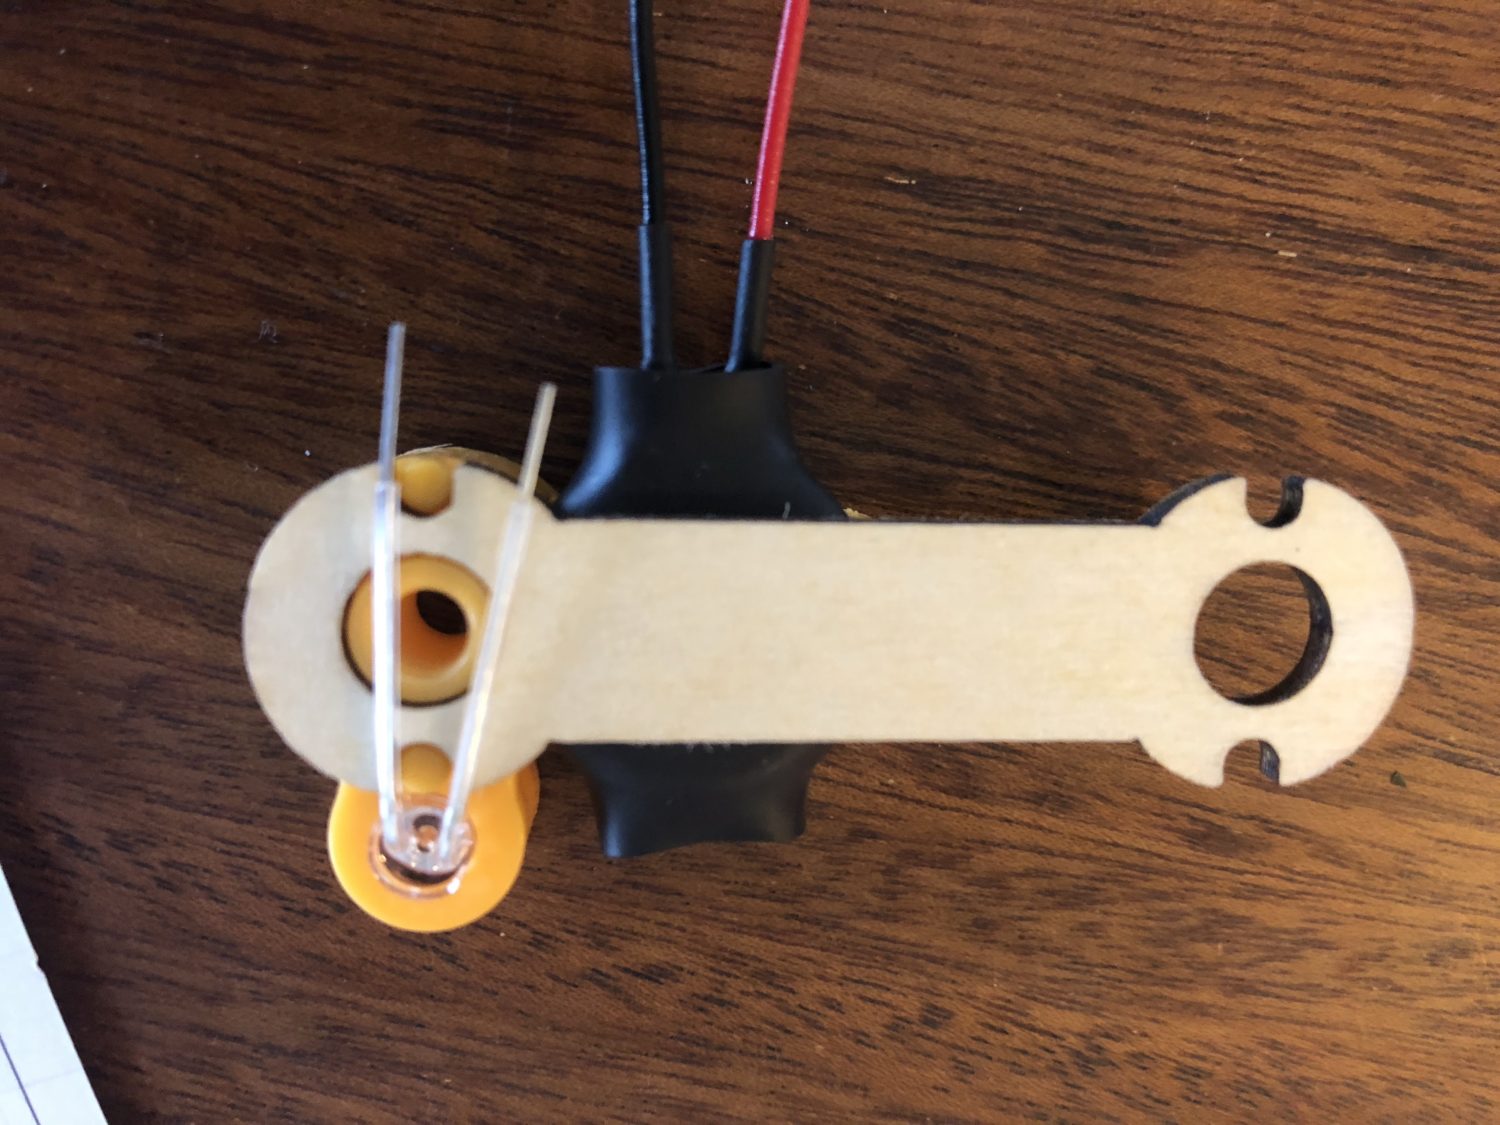
This is the partially assembled double pendulum before connecting the battery circuit to the LED bulb. There is no on/off switch though you can probably attach one if you happen to have an electronic circuit set (for example: Snap Circuits.) It is very easy to turn the light off though, you just break the circuit by pulling a connecting wire off one of the leads for the LED bulb.
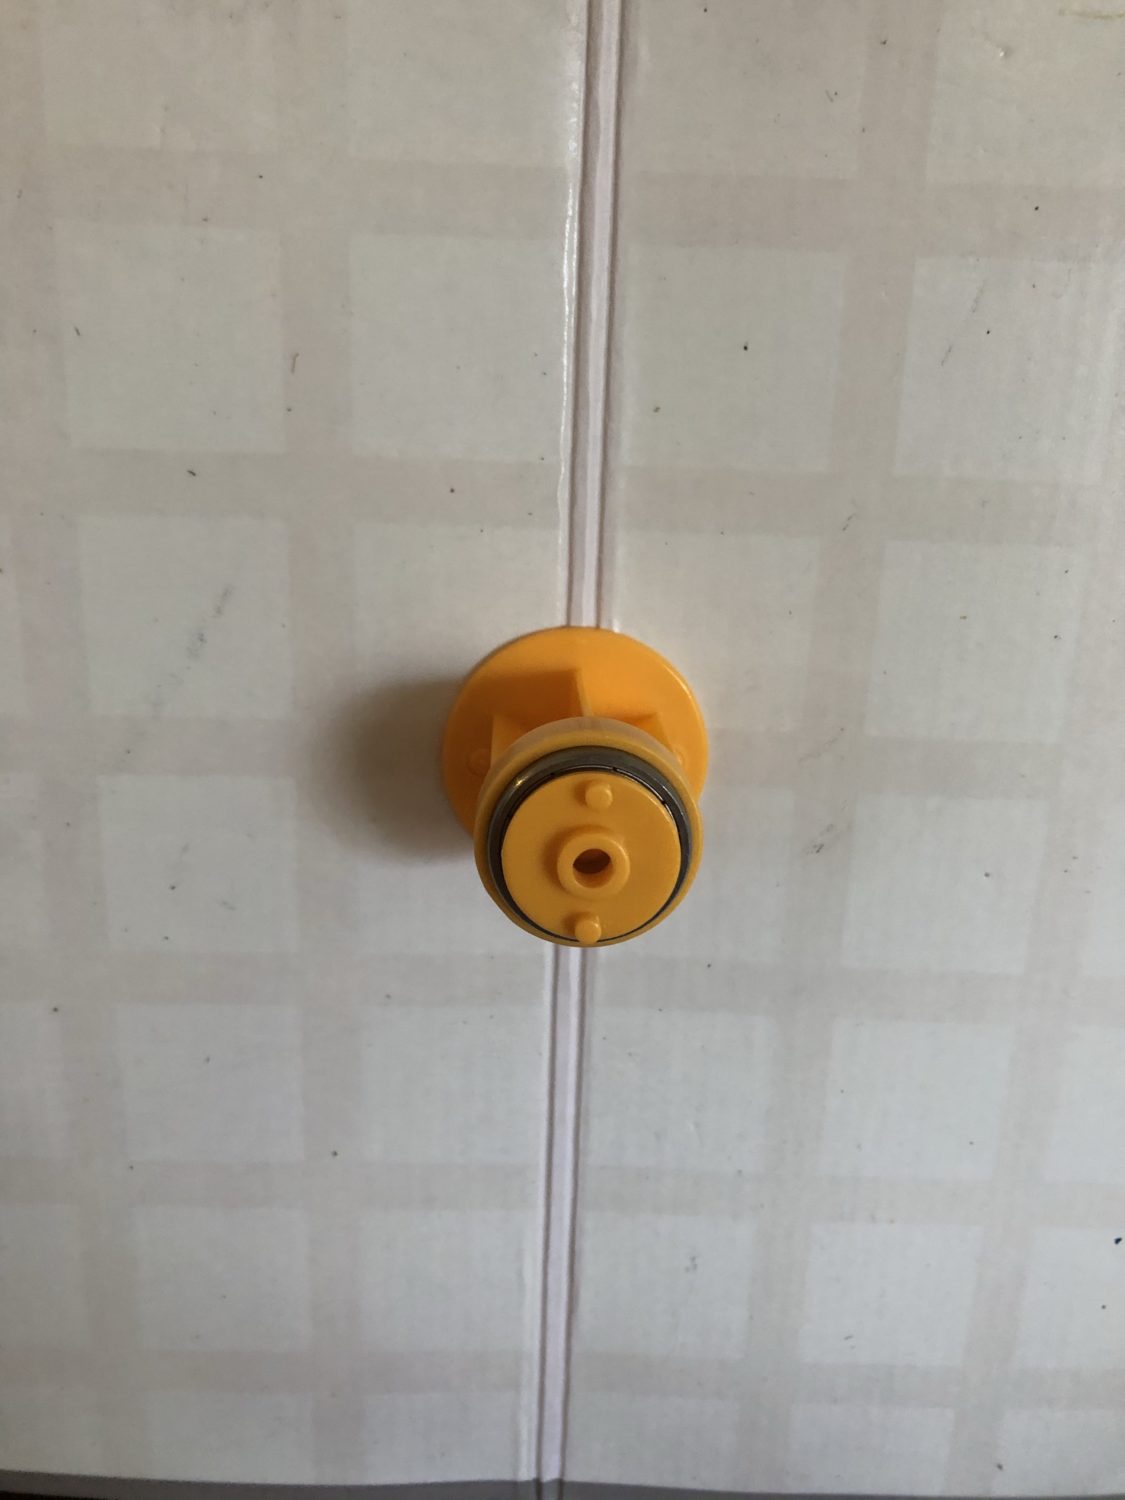
The double pendulum will attach to this. The plastic pieces for this project are very well-made. I don’t think they will break easily.
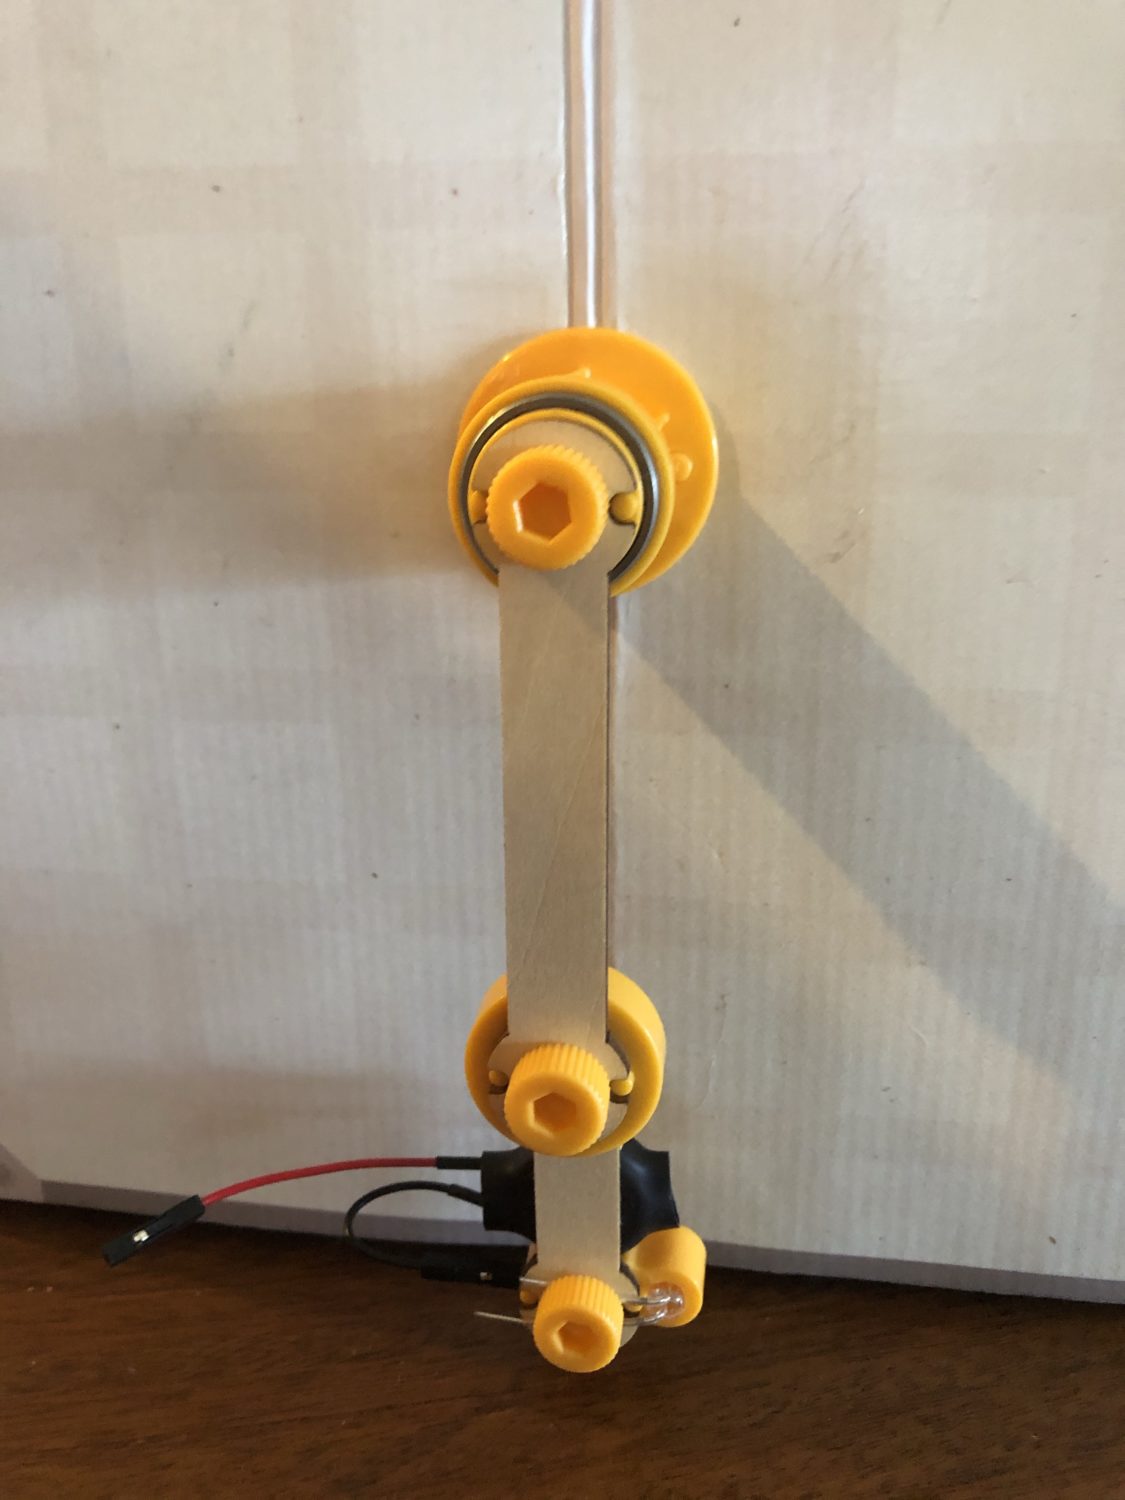
The pendulum is now ready to go! To turn the light on, we just had to attach the red wire to the other lead on the LED bulb.
[youtube https://youtu.be/JMXGYaNOQkI]
The glowing pendulum makes visible light trails on the glow board even in daylight, but it is most dramatic to use it at night or in a dark room.
[youtube https://youtu.be/PqIB05mUdTQ]
This is what I would consider a classic Kiwico Tinker Crate and is fun to play with even after it is assembled! It’s always fun to play with light!
If you’re interested in buying this particular crate without subscribing, you can do so at the following link: Kiwico Store! Then, search for Glowing Pendulum.
-Lynn